
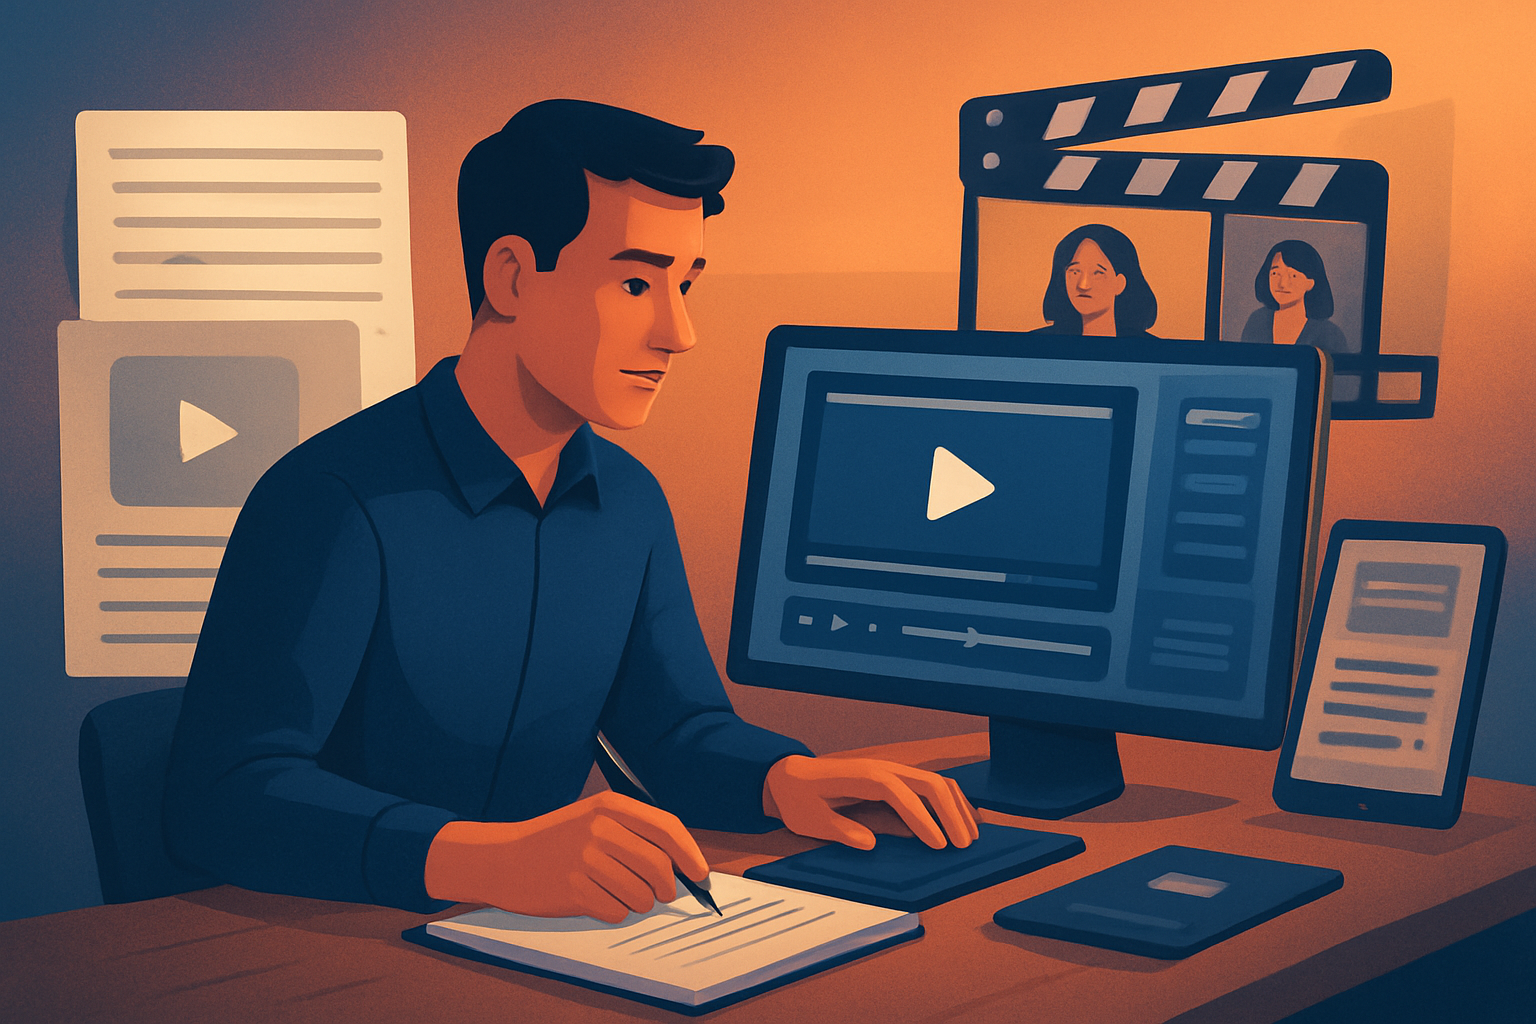
The core bottleneck: the gap between long-form material and snackable promos
You’ve got a 60–90 minute webinar packed with moments — but turning that script into 6–12 high-impact promo clips is where teams stall. The common choke points: finding repeatable hooks, switching between multiple tools for edits/graphics/subtitles, and producing platform-ready variants (portrait, landscape, square) without redoing work. Repurposers need a repeatable, low-friction system that converts theatrical length into high-throughput social assets.
This guide gives a step-by-step workflow to turn webinar scripts into promo clips, the tools to use (including Shorz as a workflow-compression option), what to avoid, optimization tips, and how to scale.
Step-by-step workflow: from webinar script to publish-ready promo clips
Identify the promo moments
- Skim the webinar transcript and mark 10–20 potential hooks: bold claims, questions, surprising stats, emotional moments, clear CTAs.
- Prioritize by clarity and length. Aim for 10–30 second clips for social promos.
Craft micro-scripts
- Convert each marked moment into a 1–3 sentence micro-script that can stand alone. Add a 1-line title hook for the visual overlay.
- If the original audio is usable, note timestamps; if not, prepare a script for voiceover.
Choose clip format and angle
- Decide platform(s) and formats: portrait for Reels/Shorts/TikTok, square for feeds, landscape for YouTube.
- Pick creative angle per clip: highlight, teaser, FAQ, testimonial, or how-to extract.
Gather assets
- Pull footage: webinar recording, speaker close-ups, slides, B-roll, brand logos, and key screenshots.
- Export a clean transcript or use the editor’s transcription to speed selection.
Build first drafts
- Footage-first option: Use a repurposing editor to ingest the webinar, transcribe it, auto-generate candidate cuts from timestamps, then refine.
- Script-first option: Use a text-to-video or narration workflow to generate visuals against the micro-script before matching to the best footage.
Polish: pacing, subtitles, and hooks
- Add tight trims, jump cuts, and quick title hooks. Apply subtitles that are readable on mobile and synced precisely.
- Insert B-roll, callout overlays, or freeze-frame emphasis where needed.
Visual finish and thumbnails
- Apply auto zoom/face tracking to keep framing tight for portrait outputs. Add borders/overlays to match channel aesthetics.
- Generate thumbnails that surface the hook and a clear visual.
Export and variant rendering
- Export platform-specific sizes, adjust intro/outro durations per platform, and batch render where possible.
- Keep a versioned project for quick iterations and future edits.
Tools needed (practical set)
- Script editor: Google Docs, Notion, or any plain-text editor for micro-scripts.
- Transcript source: auto-transcript from your webinar host or your editor (Shorz’s Auto Edit pipeline includes transcription as part of the footage-first workflow).
- Video editor with repurposing features: Shorz (Windows desktop) is optimized for repurposing via Auto Edit Video and Text-to-Video workflows. It keeps projects and assets locally for repeatable work.
- Audio editor: simple cleanup in Audacity or similar if you need to fix audio before import.
- B-roll and images: your brand asset library or licensed stock.
- Scheduling and analytics: your social scheduler and channel analytics to time and measure clips.
- Thumbnail generator: can be within the editor; Shorz can generate and store thumbnails with your project assets.
Mistakes to avoid
- Trying to cover everything: promo clips need one clear idea. Don’t cram long explanations into 15 seconds.
- Ignoring subtitles: most mobile views are sound-off; readable captions are mandatory.
- Repeating full edits per format: use templates and reusable assets to avoid redoing the same work for portrait/square/landscape.
- Over-relying on raw AI output: use AI generation for speed but finish with human control — timing, punchlines, and brand voice need manual polish.
- Failing to store assets: losing track of thumbnails, overlays, and style references kills scale. Use a persistent asset library.
Optimization tips (quick wins that move the KPI needle)
- Lead with the hook in the first 1–2 seconds. If the hook is a question, display that text as a title hook immediately.
- Use subtitles with a distinct style: bold for names/numbers, different color for CTAs.
- Swap in slide screenshots as quick B-roll for credibility (stat overlays).
- For paid promos, create 3 variants per clip: long hook (30s), short hook (15s), and a visual-only teaser (6–8s).
- Test thumbnails: tally CTR variance and iterate. Store generated thumbnails for A/B reuse.
How to scale this workflow
- Build templates: title hooks, subtitle styles, intro/outro packs, and color presets that apply across formats.
- Create a “promo clip” project template in your editor that preloads overlays, fonts, CTA frames, and export presets.
- Establish SOPs for micro-script creation and a clipboard of common CTAs so editors don’t rewrite the same language.
- Centralize assets: store reusable B-roll, slide packs, and brand overlays in a local asset library for quick drag-and-drop.
- Batch process: group clips by format and render them in batches to reduce context switching.
Where Shorz reduces friction
- Workflow compression: Shorz is a Windows desktop AI video production suite designed to move you faster from source material to publish-ready output inside one persistent workspace.
- Auto Edit Video for repurposing: import webinar footage, let it analyze/transcribe the source, generate editing instructions, and build an edit sequence — then finish inside the same project.
- Text-to-Video for script-first clips: type micro-scripts or upload narration, choose voice and style references, preview narration, and generate visuals aligned to the script.
- Persistent local asset library: store uploaded assets, generated thumbnails, animations, and B-roll locally for repeat work and reusable templates.
- Shared finishing controls: subtitles, title hooks, overlays, borders, music, sound effects, volume mix, auto zoom, face tracking, and basic color controls let you move beyond a raw AI draft into a publish-ready edit without switching tools.
- Multi-ratio previews and exports: preview and export in landscape, portrait, and square ratios to produce platform-ready variants faster.
- Thumbnail generation and YouTube/TikTok helpers: extend the workflow beyond video files so your clip package is ready for posting.
For more on script-driven short video workflows, see How to Turn Scripts Into Shorts With AI. If you’re exploring avatar-led promos, check How to Turn Scripts Into Avatar Ads. For sales-driven repurposing, read How to Turn Sales Scripts Into Videos.
FAQ
Q: Should I use the original webinar audio or re-record a voiceover? A: Use original audio if clarity and pacing are good. For shorter promo clips you often need tighter phrasing — re-recorded voiceovers let you punch delivery and timing for social attention spans. Shorz supports uploading speech audio and voice selection in Text-to-Video if you choose to recreate narration.
Q: How long should each promo clip be? A: Platform-dependent, but aim for 6–15 seconds for rapid engagement, 15–30 seconds for informative teasers, and 30–60 seconds for deeper explanations.
Q: Can I reuse the same design across formats without redesigning? A: Yes — keep title hooks, subtitle styles, and overlay assets in a reusable asset library so you can swap outputs to portrait/square/landscape with minimal rework.
Q: Do I need separate projects per clip? A: Start with a single project that contains all generated assets for a webinar. Create clip-specific sequences or project variants that reference the same assets to avoid duplication.
Ready to compress your webinar-to-promo pipeline?
If you want a complete playbook on turning scripts into videos — formats, templates, and step-by-step production guidance — follow the full guide here: Script to Video: Complete Guide.