
The core bottleneck: one long livestream, zero reusable assets
You finished a 90–180 minute livestream that had great moments, but turning that single recording into dozens of evergreen clips feels impossible. The usual bottlenecks are the same: finding the best moments, slicing them quickly, adding captions and thumbnails, and producing platform-ready versions in multiple ratios. Teams waste time switching tools for transcription, editing, captioning, and thumbnail work — and every manual step kills throughput and consistency.
This guide gives a repeatable, operator-focused workflow to turn one livestream into a reproducible library of evergreen clips you can publish for months.
Step-by-step workflow
- Capture and centralize the source
- Record the livestream at the highest practical bitrate and keep the raw file. If you streamed to YouTube or TikTok, download the master into your local media folder.
- Collect chat timestamps, pinned comments, or audience highlights; they point to moments worth clipping.
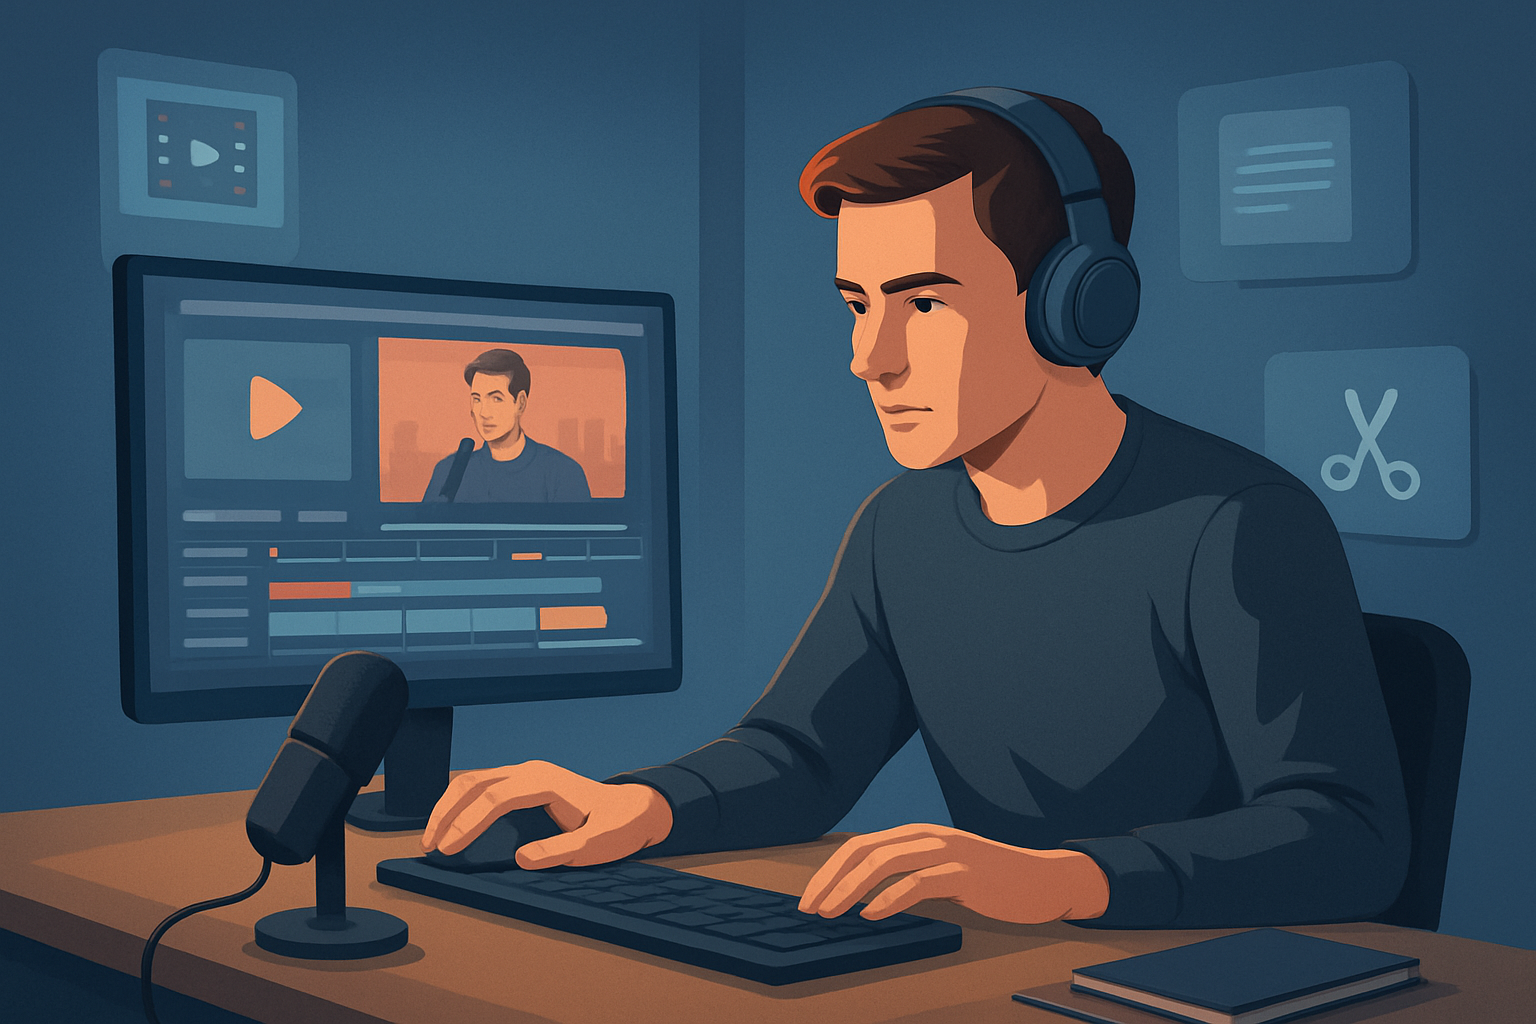
- Ingest and index
- Import the raw file into your editing workspace. Use a tool that transcribes or analyzes the recording so you can search by words and timestamps.
- Create a clip candidate list: note timestamps for potential hooks, quotable lines, and teachable moments.
- Prioritize clips by value
- Label clips as High (viral share potential), Medium (niche evergreen), or Low (bonus content).
- Pick a first batch of 8–12 High/Medium clips to produce in the next session.
- Auto-generate rough edits
- Use an “auto edit” or footage-first workflow to create first-draft clips from your timestamps. Let the system build the basic edit sequence (in/out points, simple pacing) so you aren’t assembling each clip by hand.
- Finish and polish
- Add a 1–2 second title hook, auto-generated subtitles, and visual polish: auto zoom, face tracking, freeze frames for emphasis, and simple color tweaks.
- Create platform versions: landscape for YouTube, portrait for TikTok/Instagram Reels, square for feeds. Preview each ratio before export.
- Produce thumbnails and metadata
- Generate thumbnail options and save the best ones alongside the projects. Draft captions/description templates and suggested hashtags so publishing is a one-click step.
- Export, schedule, and archive
- Render each platform version, save final files and thumbnails into a structured asset library, and schedule distribution in your publishing calendar.
- Keep a project history so clips, thumbnails, and style assets are reusable for future streams.
Tools you’ll need
- Livestream capture: your streaming software or the platform’s recorded file.
- A desktop editor with a footage-first auto edit workflow (for faster first drafts and repeatable output).
- Local asset storage or a DAM to store rendered clips, thumbnails, and reusable media.
- Basic analytics (platform-native or aggregated) to identify top-performing moments over time.
- Scheduling/publishing tool for batch uploads and timed distribution.
Shorz fits into this stack as the workflow-compression desktop editor: import or download stream files into a persistent local project, transcribe/analyze, auto-generate edits, add subtitles/title hooks/B‑roll and preview across landscape/portrait/square — then render and store reusable assets locally.
For reference workflows that apply the same pattern to other long-form formats, see these guides:
- How to Turn One Webinar Into 20 Assets
- How to Turn One Podcast Into 20 Clips
- How to Turn One Talk Into a Content System
Common mistakes to avoid
- Ignoring the first 3 seconds: no one scrolls to the middle of a clip. Lead with a hook.
- Over-editing small moments: keep edits tight but natural; authenticity matters in evergreen clips.
- One-ratio output: don’t publish the same landscape file to TikTok without reformatting.
- No captions or bad captions: always include accurate subtitles — they drive retention and accessibility.
- Recreating assets each time: failing to use templates and asset libraries wastes hours per clip.
Optimization tips for discoverability and longevity
- Lead with a standalone headline: clips should make sense without the stream context.
- Add searchable captions and a short descriptive title that includes evergreen keywords.
- Use a consistent brand overlay or border so clips are instantly recognizable on feeds.
- Link back to the full stream or a pillar episode in descriptions to capture long-tail traffic.
- Test multiple thumbnails and hooks; keep a log of which styles succeed for different clip types.
How to scale this workflow
- Batch everything: capture a week’s worth of clips, then run auto-edit drafts in one session and finish in another.
- Build templates for hooks, subtitle styles, and thumbnail layouts so finishing is repeatable.
- Maintain a reusable asset library (intros, lower thirds, music stems, B-roll) so new clips snap into your brand look.
- Turn the same pipeline into a standard operating procedure for contractors: source -> transcribe -> batch auto-edit -> batch finish -> export.
- Track and reuse best-performing clips: reformat high-performers for new platforms with minimal rework.
Shorz supports scaling by keeping projects and generated assets local and persistent, so you can reuse styles, cached media, and thumbnails instead of rebuilding each deliverable from scratch.
Where Shorz reduces friction in this workflow
- Faster first drafts: the Auto Edit Video workflow moves you from raw footage to a workable sequence quickly, so you spend less time on repetitive assembly and more time on finishing.
- Fewer tools to switch between: import footage, transcribe/analyze, edit, and finish inside one persistent desktop workspace.
- Reusable asset libraries: store videos, images, generated thumbnails, and audio locally in My Assets for repeat work.
- Built-in finishing controls: subtitles, title hooks, B-roll, overlays, borders, music, SFX, and volume mix controls let you polish within the same app.
- Visual polish that matters: auto zoom, face tracking, freeze-frame emphasis, and basic color adjustments make clips look intentional without complex manual grading.
- Platform previews: preview your clip in landscape, portrait, and square before rendering so you ship platform-appropriate assets every time.
- Source downloads: if your livestream was hosted publicly, you can download YouTube or TikTok source files into the local asset library to start the repurpose process faster.
These features compress the usual multi-step editing pipeline into a repeatable system, increasing output from existing content inventory.
FAQ
Q: How long should evergreen clips be? A: Aim for 15–90 seconds depending on platform and topic. For social discovery, shorter clips with a clear hook perform better. For educational content, 60–90 seconds may be acceptable as long as each second adds value.
Q: Can I use segments from a stream hosted on YouTube or TikTok? A: Yes. If the file is publicly available, you can download the source and import it into your local workspace to start repurposing.
Q: How many clips can one livestream realistically produce? A: That depends on content density. A single 2-hour stream can yield 20–80 micro-clips across categories (hooks, tutorials, quotes, highlights). Start with a prioritized batch and scale once you validate what performs.
Q: Do I need separate projects for each platform? A: Not necessarily. Use templates and ratio previews so a single project can produce landscape, portrait, and square outputs. Render platform-specific files from the same source edits.
Q: How do I keep these clips evergreen? A: Focus on timeless insights, avoid references to dated events, and use search-friendly captions/titles. Tag assets in your library for quick rediscovery and repurpose them seasonally.
Ready to convert streams into a content engine?
If you want a workflow that turns long-form livestreams into repeatable, publish-ready clips with local projects, reusable assets, and faster first drafts, learn how to operationalize this system across teams: Video Repurposing Workflow for More Output.