
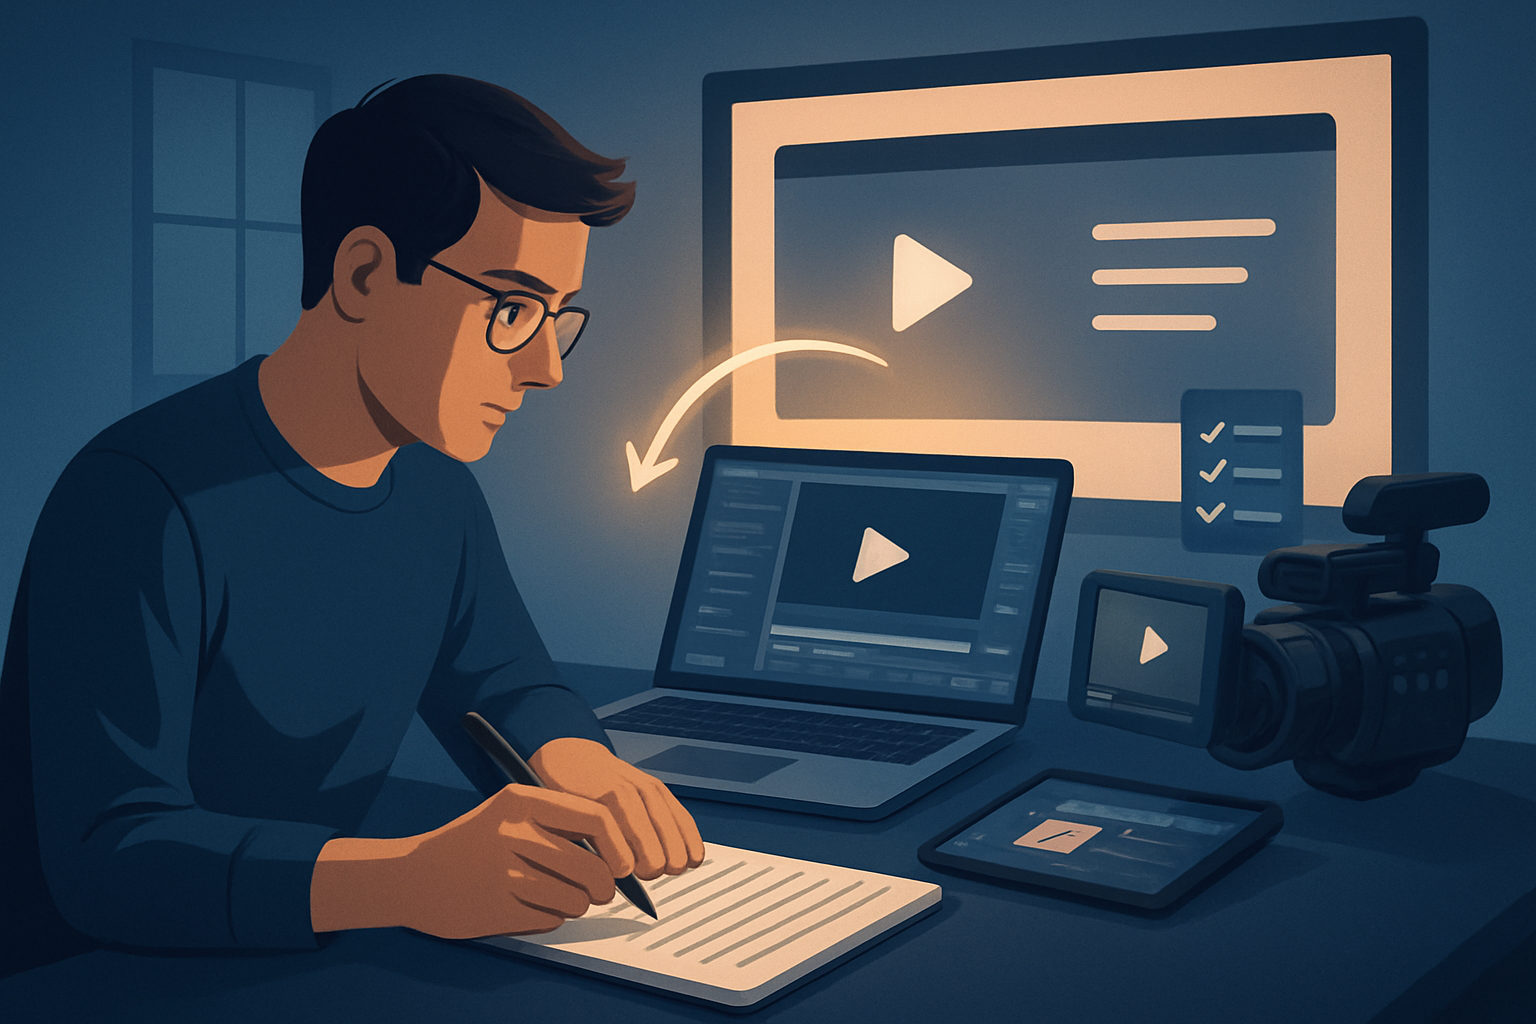
The bottleneck: turning scripts into course videos without chaos
Educators know the pattern: you write a lesson script, then spend days juggling recording software, slide exports, caption tools, and a clunky editor to get a single module out the door. The real bottleneck isn’t creativity — it’s the process: repeated manual steps, inconsistent visuals across lessons, and too much tool-switching. For course creators who need reliable, repeatable output, the solution is a lean, scripted workflow that moves from text to publish-ready video with minimal friction.
This guide lays out a step-by-step "script to video for course creation workflow" you can use immediately, the tools that fit each step (including how Shorz compresses the workflow), common mistakes, optimization tips, and how to scale production across an entire course.
Step-by-step workflow
Plan and chunk the curriculum
- Break the course into modules and lessons. Aim for 5–15 minute lesson scripts or 60–180 second micro-lessons depending on your course format.
- Write a one-line learning objective and a 3–5 point outline for each lesson. That keeps visuals focused and reusable.
Draft the lesson scripts
- Write narrations in plain text. Mark where you want key visuals, examples, or on-screen bullets.
- Add timing notes if you plan tight edits (e.g., “00:00–00:12: intro hook; 00:12–01:00 concept explanation”).
Create or gather assets
- Export slide decks, diagrams, example code snippets, and any B-roll you want to reuse.
- Collect style reference images (brand colors, example frames) to stabilize visual identity across the course.
Produce narration
- Record your voice or generate narration from the script. If using uploaded speech audio, label files with lesson IDs so they’re easy to match.
- Do a quick listen to remove major breaths or noise before importing.
Build the initial lesson video (first draft)
- Import script and assets into your editor. For a workflow focused on speed, use a text-to-video or script-driven tool to generate draft scenes from your script.
- Review narration alignment and visual pacing; swap or tighten generated shots.
Finish with polish
- Add subtitles, title hooks, lower-thirds, and visual polish layers (auto-zoom, callouts, freeze frames) to emphasize key ideas.
- Generate a thumbnail and export preview versions in the ratios you’ll publish (landscape for LMS, square or portrait for social promos).
QA and publish
- Proof captions, test audio mix, and check branding consistency across lessons.
- Export master files for the LMS and create social assets for promotion.
Repeat and iterate
- Use the saved project as a template: duplicate, replace the script and assets, and re-export to accelerate the next lesson.
Tools needed
- Script editor (Google Docs, Word, or your LMS content editor).
- Audio recorder (USB mic + Audacity/Recorder) or TTS tool if you use synthetic narration.
- Video editor with text-to-video and asset library functionality. Shorz (Windows desktop AI video suite) is an option that supports Text-to-Video, Auto Edit Video, Avatar, and Podcast project types and stores projects and generated assets locally.
- Asset management: local file folders or an editor with a reusable asset library.
- Captioning and thumbnail generation tools (built into the editor or external).
Use case fit:
- If you want fewer tools and faster first drafts with reusable libraries, a desktop suite like Shorz compresses the cycle by combining script import, narration preview, generated visuals, subtitle design, and thumbnail generation inside one persistent workspace.
(See broader comparisons for different approaches: Script to Video vs Manual Editing, Script to Video vs Templates, Script to Video vs Short-Form Editors.)
Where Shorz fits in the workflow
- Start a Text-to-Video project in Shorz and paste your script. The app supports typed scripts, uploaded speech audio, voice selection, narration preview, transitions, motion options, and style reference images.
- Import your slide exports and images into My Assets so you can reuse them lesson-to-lesson.
- Use the built-in subtitle and title hook systems, B-roll overlays, borders, and thumbnail generator to finish and package assets without leaving the workspace.
- Preview outputs in landscape, portrait, and square ratios to create both LMS masters and social promos in one pass.
Shorz is especially useful for faceless or avatar-based lessons, repeatable explainers, and rapid repurposing because it stores projects locally and encourages reusable asset libraries.
Common mistakes to avoid
- Skipping style references. Without consistent reference images or color rules you’ll get inconsistent generated scenes across lessons.
- Overproducing the first draft. Aim for a clean, publishable first pass—don’t chase perfection on take one.
- Not naming assets consistently. Use lesson IDs in filenames so narration, slides, and thumbnails map easily.
- Using too many tools. Every external conversion or re-import wastes time. Consolidate steps into one environment where possible.
- Ignoring ratio planning. If you’ll promote on social, preview and export additional crops while you’re finishing the master file.
Optimization tips
- Chunk scripts by concept and produce multiple short videos rather than one long recording—shorter files are easier to edit and repurpose.
- Create style presets (title hooks, subtitle templates, color overlays) and apply them across the project for uniform branding.
- Use narration preview and voice selection features early to lock pacing before detailed edits.
- Save export presets for LMS and social to avoid repeated manual settings.
- Reuse generated thumbnails and thumbnails’ source images to maintain a recognizable course identity.
How to scale the workflow
- Turn a completed lesson project into a template: duplicate the project, swap the script and assets, and update the narration. With a persistent local workspace and reusable My Assets, this saves hours per lesson.
- Batch produce narration files and upload them in bulk to minimize context switching.
- Build a master style guide (title hooks, fonts, color palettes) and store it as a reference image set for the Text-to-Video generator so every lesson inherits the same visual identity.
- Use a single export step to create both LMS-ready masters and short-form social cuts (preview in different ratios and export versions) to scale promotion.
Where Shorz reduces friction
- Workflow compression: Shorz centralizes script-driven generation, asset management, subtitle design, thumbnail creation, and ratio previews into a single desktop workspace—less tool switching and faster first drafts.
- Reusable assets and persistent projects: storing generated assets locally means repeat work and consistent course branding without re-importing the same files.
- Finishable AI: the app pairs AI generation with finishing controls—subtitles, title hooks, B-roll, overlays, auto-zoom, face tracking, and simple color controls—so you don’t stop at an unusable draft.
- Social and publishing helpers: preview and export in landscape, portrait, and square and generate thumbnails alongside videos to streamline multi-platform publishing.
FAQ
Q: Can I import my recorded narration into a script-to-video workflow? A: Yes. Shorz supports uploaded speech audio and text-based scripts; use the narration preview and timing controls to align audio and visuals.
Q: Will generated visuals keep a consistent look across a course? A: Use style reference images and saved overlays/presets to stabilize visual identity across generated scenes and lessons.
Q: Is this approach suitable for faceless lessons or avatar-led content? A: Yes. Shorz supports Avatar and Text-to-Video project types and is designed for faceless explainers, short-form lessons, and repurposed course content.
Q: Where should I store course media for reuse? A: Keep everything in a shared naming convention and in your editor’s asset library (Shorz’s My Assets stores videos, images, thumbnails, and audio locally), so each lesson can pull from the same pool.
Ready to move from script to course-ready videos?
If you want a repeatable, less tool-heavy system for turning lesson scripts into publish-ready videos, you can apply this workflow immediately. For a deeper walkthrough of the script-to-video process and examples, see the complete guide: Script to Video: Complete Guide.
Want hands-on trial steps and a quick checklist for your first lesson? Visit /script-to-video to get started.