The core bottleneck: turning lesson scripts into publish-ready videos, fast
Educators sit on great scripts — lecture notes, lesson plans, quiz explanations — but hitting publish means wrestling with multiple tools, recreating visual identity for each class, and spending hours on timing, subtitles, and thumbnails. The real bottleneck is not creativity; it’s the workflow: moving from script to a polished video reliably and quickly while keeping assets reusable across modules and semesters.
This guide gives a practical, step-by-step workflow for converting scripts into classroom-ready videos, the tools you need, common mistakes to avoid, and how to scale production without losing quality or consistency.
Step-by-step workflow: script to classroom-ready video
Draft and segment the script
- Break your lesson script into 30–90 second chunks (one learning objective per chunk). Short segments are easier to narrate, animate, subtitle, and repackage for different platforms.
- Add simple shot notes: visual example, slide, B-roll cue, or problem to display.
Create or import assets
- Collect slides, diagrams, experiment footage, and reference images. Save them into a single project folder so everything is ready to import.
- Create style reference images (colors, title layout, teacher brand) to keep visuals consistent across scenes.
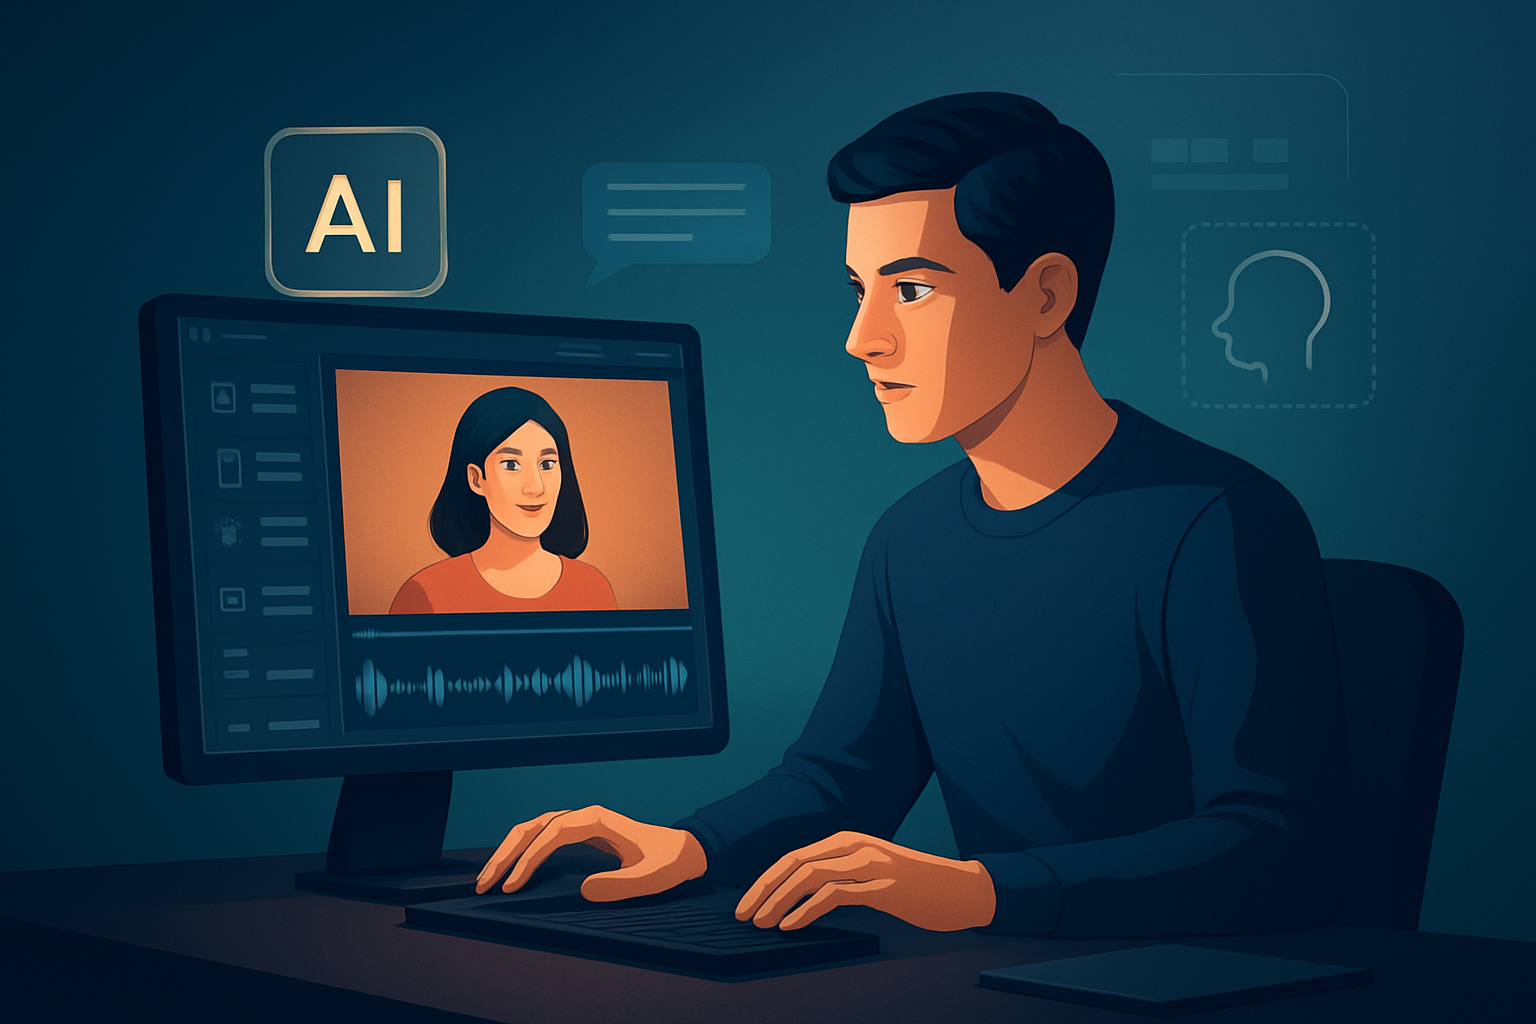
Generate narration
- Record your voice or choose a synthetic voice to narrate each segment. Preview narration against the script to catch pacing issues before visual assembly.
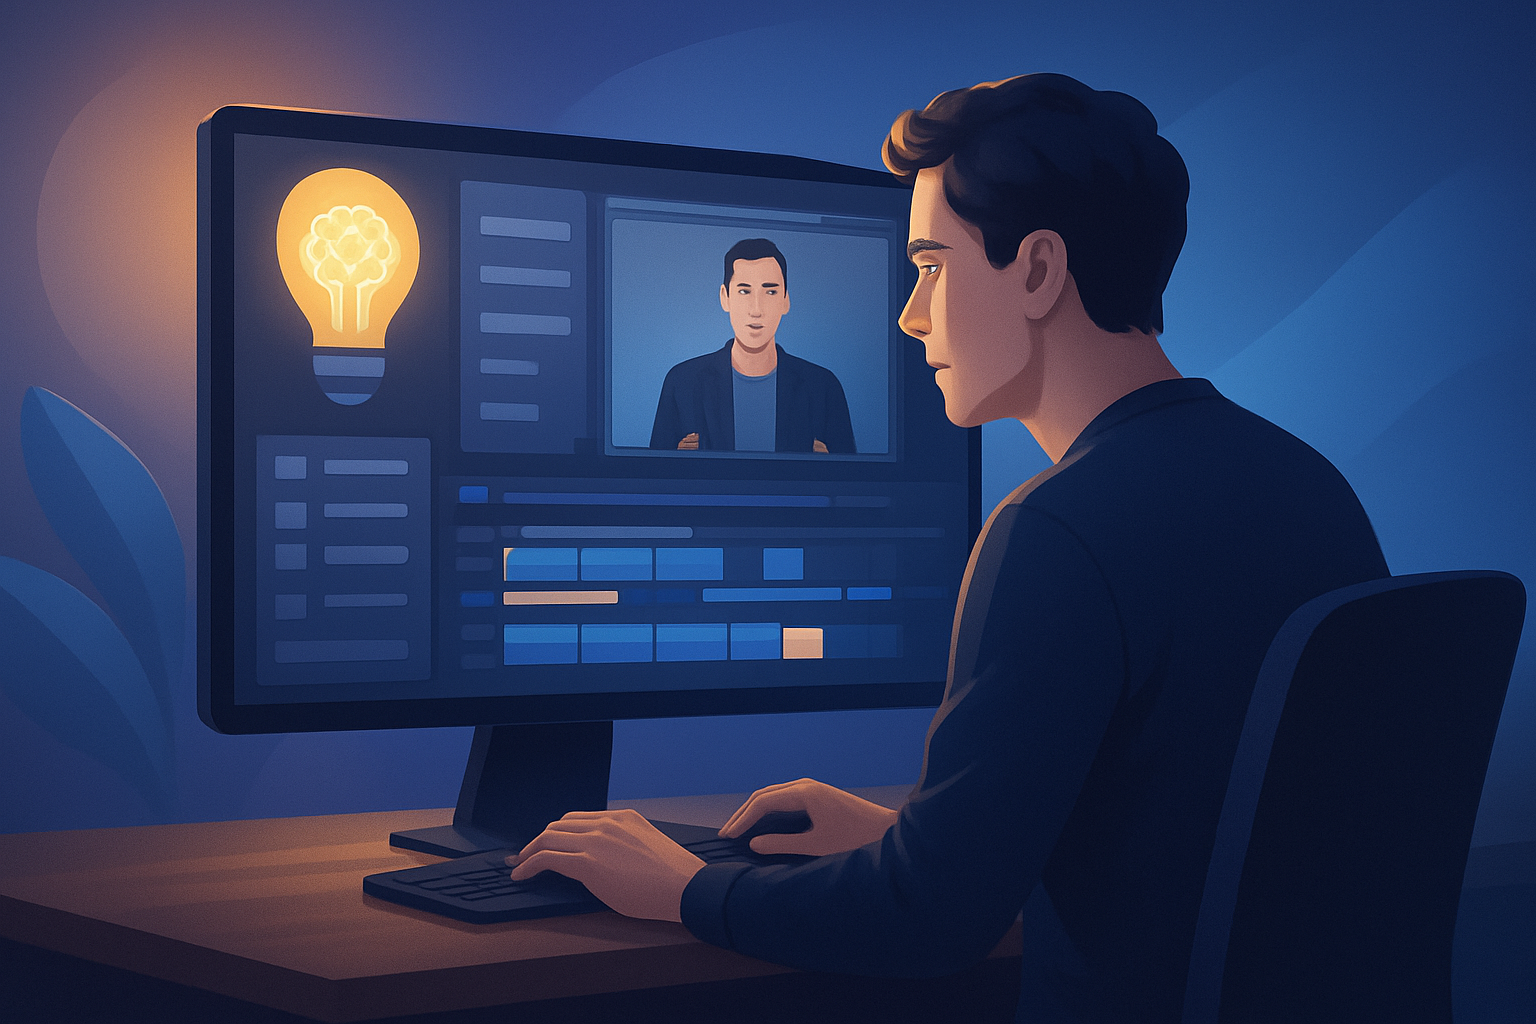
Build the first draft with a text-to-video pass
- Use a tool that supports text-to-video (typed script, narration upload, and style references) to auto-assemble scenes with rough timing, subtitles, and basic B-roll placement.
- Review the rough cut for timing and comprehension — this is a fast first draft, not the final polish.
Finish for clarity and classroom framing
- Add subtitles with clear, readable design and signpost headings for each learning objective.
- Insert title hooks, callouts, diagrams, and freeze-frame highlights on key steps.
- Adjust timing, auto-zoom to focus on diagrams, and use basic color controls to improve visibility.
Create multi-format exports
- Generate landscape for LMS and YouTube, square or portrait for social previews, and export thumbnails for course catalogs.
- Store each output and the source project so you can revisit or repurpose later.
Publish and iterate
- Upload to your LMS, YouTube channel, or course platform. Track engagement and iterate on scripts and visuals based on student feedback.
Tools needed
- Script editor (Google Docs, Word, or any plain text editor) for drafts.
- Audio recorder (built-in mic or USB mic) for narrated takes.
- Visuals: slides, diagrams, screencasts, or short clips (local files).
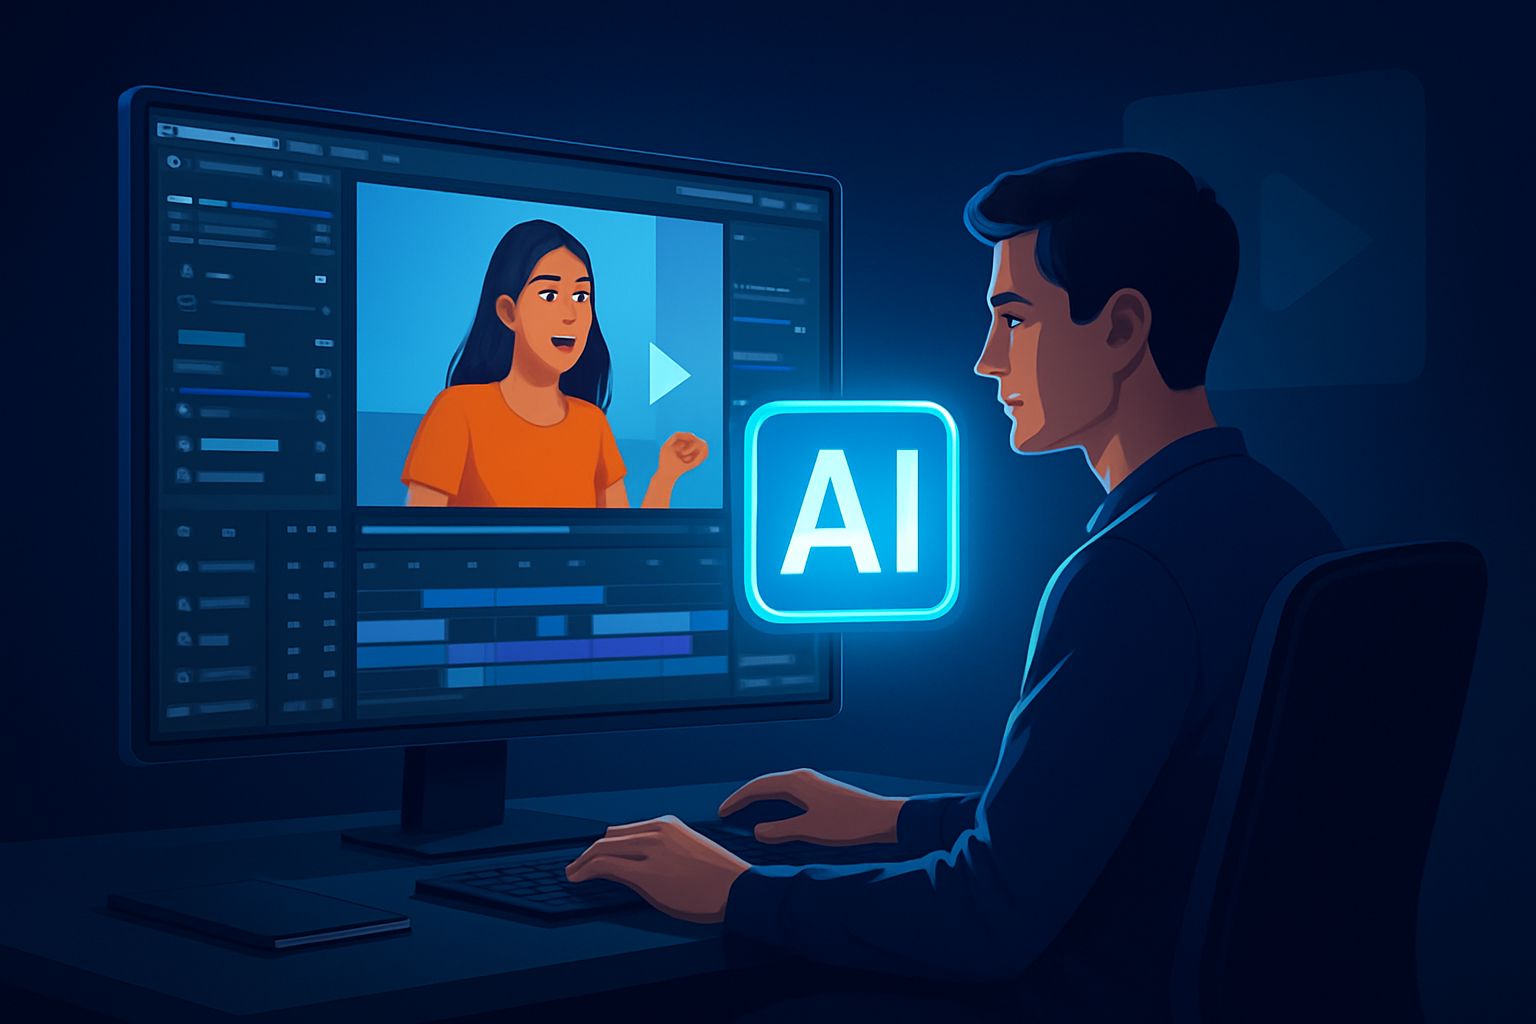
- Video editor with script-to-video capabilities and finishing controls — for example, Shorz (Windows desktop AI video production suite).
- Shorz supports Text-to-Video from typed scripts or uploaded narration, voice selection, narration preview, style reference images, and importing of assets into a reusable local library.
- It combines auto-generation with finishing controls like subtitles, B-roll, overlays, zoom/face tracking, basic color controls, and thumbnail generation.
- Asset storage (local drives or network storage) so projects and reusable libraries persist between sessions.
For other workflows and audience contexts, see companion guides: Script to Video for Creator Workflow, Script to Video for Repurposing Workflow, and Script to Video for Agency Workflow.
Mistakes to avoid
- Skipping segmentation: Long takes are harder to edit and repurpose. Chunk first, polish later.
- Overloading slides with text: Use callouts and freeze frames to highlight, not repeat, the spoken script.
- Ignoring style references: Without consistent reference images and layouts, each video will feel different and cost more to brand.
- Treating AI drafts as final: Auto-generated scenes speed first drafts but require finishing — subtitles, pacing, and visual emphasis still need human review.
- Losing file provenance: Don’t export without saving the project and assets locally. You’ll need them for updates, captions, or alternate formats.
Optimization tips for educators
- Build a reusable asset library: store diagrams, branded overlays, title hooks, and music clips once and reuse them across lessons.
- Create a template project per course with preset subtitle styles, hook layouts, and export ratios.
- Use style reference images to lock visual identity across generated scenes — it stabilizes AI output and speeds finishing.
- Batch narration: record all segments in one session to maintain consistent tone and audio levels.
- Preview in target ratios early (landscape for LMS, portrait for mobile promos) so cropping and framing issues are caught before final renders.
How to scale the workflow (class sets, course series, and departments)
- Standardize templates at the course level: one project template per course reduces per-video setup to minutes.
- Save “lesson packs” in your local asset library: lecture diagrams, example problem videos, and clip intros that can be dragged into new projects.
- Train teaching assistants on the workflow: segmentation, metadata tagging, and asset naming speed throughput.
- Cache exports and thumbnails locally for quick repackaging into bundled modules or social promos.
- Use repeatable scripts (intro, learning objective, example, recap) to make batch editing and quality control predictable.
Shorz’s persistent local projects and My Assets library support these scale tactics by making assets and project history instantly reusable.
Where Shorz reduces friction in this educator workflow
- Faster first drafts: text-to-video assembly from scripts and uploaded narration gets you from words to a rough cut quickly.
- Less tool switching: import slides, audio, images, and generate visuals inside one desktop workspace for finishing and export.
- Repeatable output: save styles, overlays, and thumbnails in the local asset library to reuse across lessons and courses.
- Publish-ready controls: subtitles, title hooks, B-roll placement, and preview ratios are available after AI generation so you don’t stop at a raw draft.
- Persistent projects: all generated assets and project history are stored locally, making updates and repurposing straightforward.
These capabilities compress the end-to-end production loop so educators spend more time on pedagogy and less on pipeline logistics.
FAQ
Q: Can I use my recorded voice in this workflow? A: Yes. The workflow supports uploaded speech audio and narration preview so you can combine human narration with generated visuals.
Q: Will generated videos look consistent across lessons? A: Use style reference images and reusable templates. These stabilize visual identity and make generated scenes consistent across a course.
Q: Do I have to be a video editor to use this process? A: No. The goal is workflow compression: faster first drafts and finishing controls that are accessible to educators, not just editors. Human review for pedagogy and timing is still recommended.
Q: Is this suitable for faceless or privacy-sensitive content? A: Yes. The system supports faceless workflows — text-to-video, generated visuals, overlays, and thumbnails — suitable for privacy-conscious materials and explainer content.
Q: How do I prepare assets for reuse? A: Name files consistently, save them into the project’s local asset library, and store style presets (subtitle design, overlays, hooks) as templates for future projects.
CTA
Ready to turn lesson scripts into repeatable, publish-ready video workflows? Learn the complete script-to-video process and see how this approach works for courses and classrooms here: Script to Video: Complete Guide.