
The core bottleneck for faceless YouTube creators
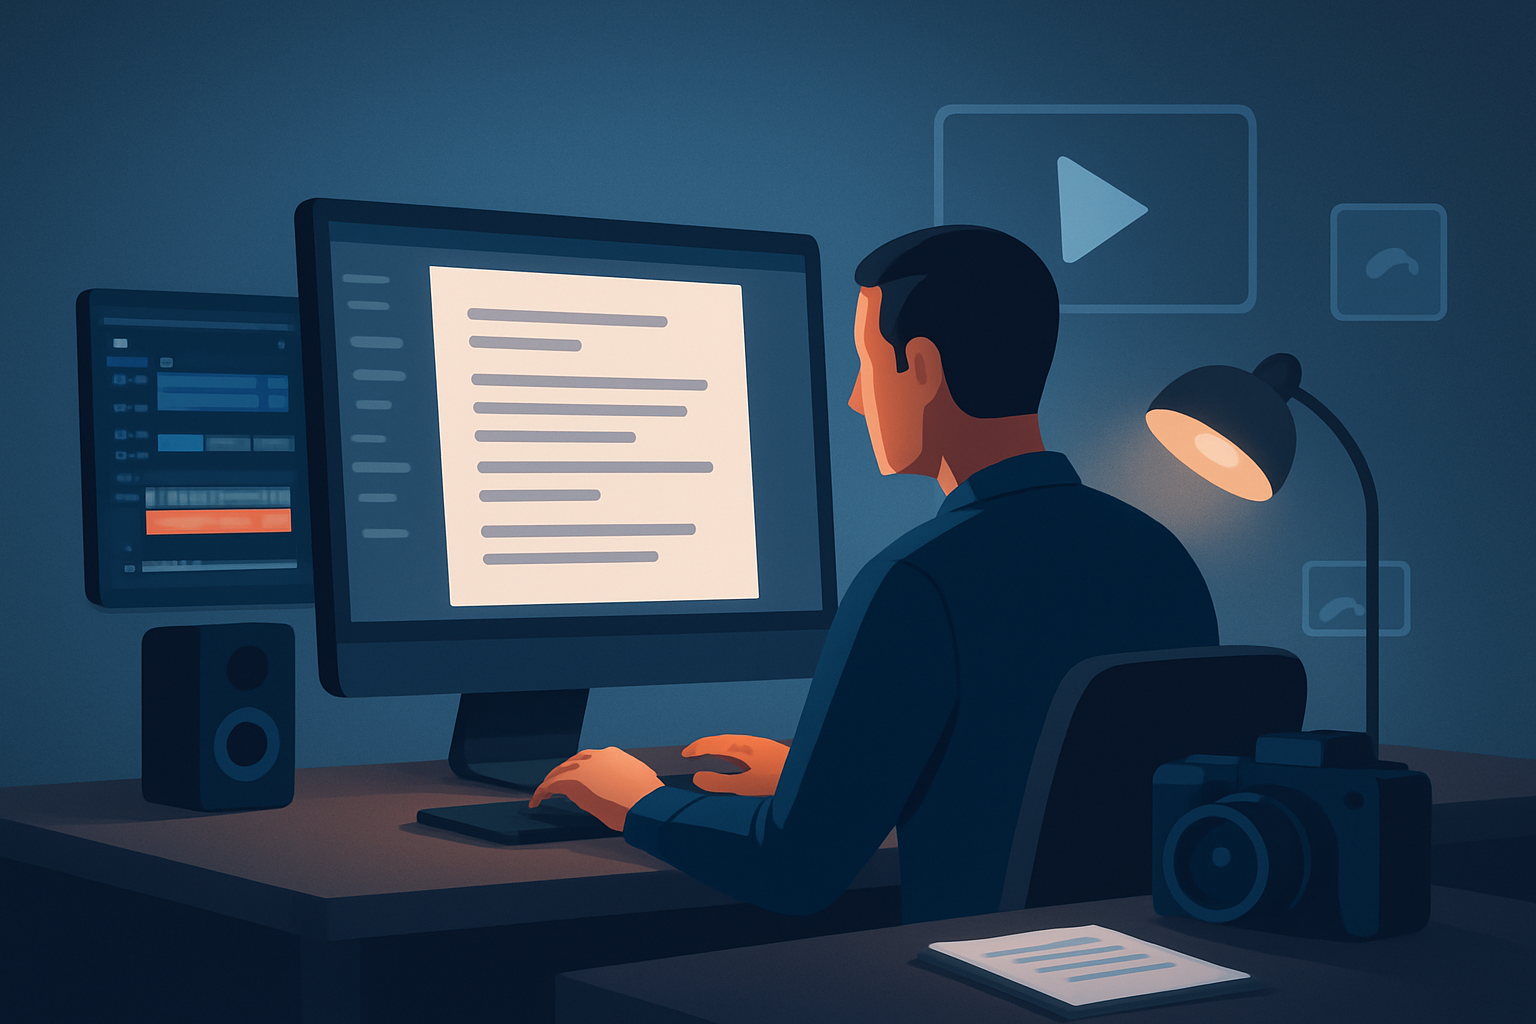
You can write a great script, but turning that script into a repeatable, publish-ready faceless video takes more than words. The real bottleneck is tool switching and finish work: generating visuals that match tone, syncing narration to scenes, adding subtitles/hooks for discovery, and repurposing one script into multiple aspect ratios — all without rebuilding the same setup every time. Creators stall on the “last 30%” of polish because it lives across five different apps.
This guide gives a step-by-step workflow for “script to video” tailored to faceless YouTube channels, with practical guardrails, scale tactics, and how a desktop AI suite like Shorz compresses those steps into one persistent workspace.
Step-by-step workflow (fast, repeatable)
Break the script into scene pulses (0–10 seconds each)
- Chunk the script into micro-scenes: hook, value beats, CTA. Aim for 3–8 second beats for short-form and 8–20 seconds for longer explainers.
- Add a one-line visual direction next to each chunk (e.g., “stat slide + B-roll of hands typing”).
Choose voice & narration approach
- Decide: record your voice or use TTS. If using TTS, pick 1–2 consistent voices and test for natural cadence.
- Export or record narration with clear markers per scene (timecodes help).
Gather or generate visuals
- For faceless channels use: generated images/video, B-roll, motion slides, or avatar-based graphics.
- If you use AI generation, provide style reference images to lock visual identity between videos.
Build the first pass inside one workspace
- Import your script, narration, and assets into your editor of choice. Use an Auto Edit or Text-to-Video mode to map script lines to timeline shots.
- Preview narration sync and let the editor generate a draft timeline automatically.
Finish with polish layers
- Add subtitles, title hooks, overlays, motion (auto-zoom, freeze-frame), and a simple color pass.
- Place thumbnail candidate images and export a few variations.
Repurpose into aspect ratios and export
- Preview in landscape, portrait, and square. Adjust cropping and title hooks for each format.
- Batch-export final files and thumbnails.
Publish and track
- Upload with optimized title, description, and the subtitle file. Note what hook thumbnails and captions get the best CTR and iterate.
Estimated time: first-pass draft 20–60 minutes per short; polish and repurposing 15–40 minutes if you have templates and assets ready.
Tools you need
- Script editor (any text editor or document tool)
- Audio recorder / TTS (recorded voice or uploaded speech audio)
- Visual asset sources (stock B-roll, generated images/video, slides)
- A single desktop editor that supports script-to-video flows and finishing controls
- Shorz (Windows desktop AI video suite) is a fit: it combines Auto Edit Video, Text-to-Video, Avatar, and Podcast project types in one local workspace and supports narration preview, voice selection, style reference images, subtitles, title hooks, and thumbnail generation.
- Lightweight color/graphics controls and export capabilities for multiple aspect ratios
If you want to compare approaches, read the workflow comparisons:
Script to Video vs Manual Editing
Script to Video vs Templates
Script to Video vs Short-Form Editors
Common mistakes to avoid
- Treating the script as a single uninterrupted clip — chunk it. Long static scenes kill retention.
- Skipping style references for generated visuals — inconsistent visuals → weaker brand recognition.
- Overloading subtitles with full transcript text; compress to readable phrases timed with edits.
- Recreating the same overlays and titles for each video instead of saving them in an asset library.
- Ignoring aspect-specific hooks — what works in landscape often fails in portrait.
Optimization tips that actually move KPIs
- Start with the hook visually and textually in the first 3 seconds. Use title hooks and animated overlays.
- Use narration preview while editing so cuts match cadence — it saves cuts/re-timings later.
- Keep a “style pack” of reference images, fonts, colors, and motion presets. Feed these into generation to maintain visual consistency.
- Batch record or batch TTS-generate narration for a week’s worth of scripts to reduce context switching.
- Export thumbnails alongside the video and A/B test thumbnails constantly. Use the thumbnail generator to create variations quickly.
- Save a single project template for each format (long explainer, short, short with avatar) so you’re not rebuilding the same stack.
How to scale the workflow
- Create reusable templates inside your editor: title hooks, subtitle styles, emoji overlays, and thumbnail presets.
- Build a My Assets library with your logo, motion intros, B-roll packs, and successful thumbnails — reuse them.
- Batch-process script chunks: write 5 scripts, generate 5 narrations, then do visuals for all five in one session.
- Delegate: assign one person to narration clean-up, another to subtitle QA, another to thumbnail A/B tests — your editor should let each person pick up where the last left off in the local project files.
- Automate exports for multiple aspect ratios in one operation rather than redoing the project per-platform.
Where Shorz reduces friction
- Single local workspace: Shorz stores projects and generated assets locally, so your templates, thumbnails, and history are persistent and reusable without jumping between apps.
- Script-to-Video and Auto Edit modes: move from script and narration to a first draft inside the same app — faster first drafts and less tool switching.
- Voice selection and narration preview: preview and adjust voice timing before committing to edits.
- Style reference images: stabilize the look of generated scenes so faceless videos maintain visual consistency across episodes.
- Shared finishing systems: subtitles, title hooks, B-roll, overlays, borders, music, and SFX live with the project so finishing isn’t an afterthought.
- Multi-aspect previews and thumbnail generation: repurpose faster by previewing landscape, portrait, and square inside the same project and generating thumbnails you can immediately export.
- Reusable My Assets library: store and recall logos, B-roll, generated thumbnails, and audio for rapid repeatability.
Shorz is positioned as workflow compression: fewer app switches, faster first drafts, and repeatable outputs for faceless creators and small ops teams.
FAQ
Q: Can I make a faceless YouTube video just from script in one app?
A: Yes — with a script-to-video workflow you can use Text-to-Video or Auto Edit within a single editor to map script lines to visuals, add narration, and apply finishing layers.
Q: Can I use my recorded voice?
A: Yes — import uploaded speech audio and use narration preview and timing tools to sync audio to scenes.
Q: Will generated visuals be consistent across videos?
A: Use style reference images and save visual presets in your asset library to keep a stable look across videos.
Q: How do I repurpose a single script to Shorts and long form?
A: Chunk the script and create separate cuts for each platform, then preview and export in portrait, square, and landscape. Save per-format templates to avoid rework.
Q: Are projects stored locally or in the cloud?
A: Projects and generated assets are stored locally in the workspace so you can reuse assets and maintain persistent project history.
Next step / CTA
If you want a repeatable, faceless script-to-video production path that minimizes tool sprawl and speeds your first drafts, explore the complete workflow guide and see how a local, persistent workspace changes throughput:
Script to Video: Complete Guide
For quick comparisons of approaches and where script-to-video fits in your stack, open these references:
Script to Video vs Manual Editing
Script to Video vs Templates
Script to Video vs Short-Form Editors