The core bottleneck: turning curriculum into clear, repeatable videos
Educators know the hardest part of video is not the camera—it’s the system. You can write a lesson, record a lecture, or sketch a diagram, but getting that content into multiple formats (short clips, full lessons, captions, thumbnails) with consistent style and fast turnaround is where time disappears. The typical bottlenecks: fractured toolchains, redoing the same edits for each platform, and losing visual consistency across lessons.
This guide maps a step-by-step "text to video for educator workflow" you can repeat every week. It’s designed for teachers, instructional designers, and course creators who need reliable, fast, and publish-ready videos without reinventing the process.
Step-by-step workflow
Draft the learning script
- Write a short, modular script for each lesson segment (30–90 seconds for social clips; 5–12 minutes for full lessons).
- Break scripts into scene-sized chunks: one idea = one scene. This makes text-to-video generation and subtitle timing predictable.
Prepare assets and references
- Gather slide decks, diagrams, images, and short clips you want to reuse.
- Choose a style reference image or two to lock visual identity (colors, fonts, and framing).
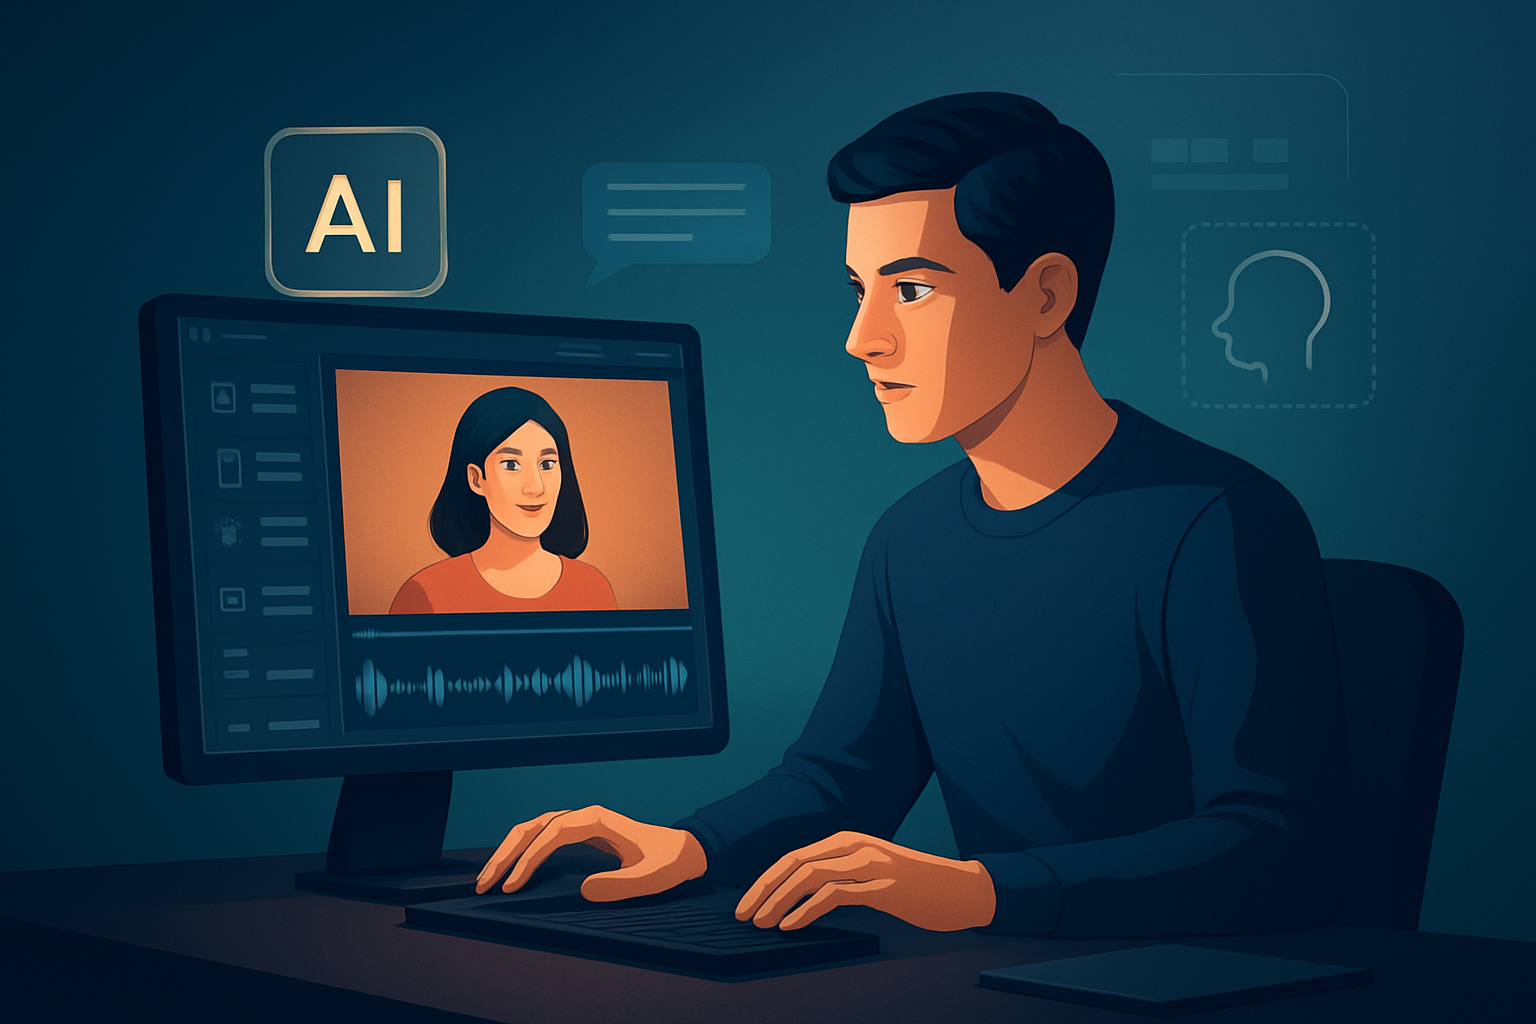
Generate narration or upload audio
- Create a clean narration track: record a natural read or use text-to-speech. Keep files per scene for easier replacement.
- Name audio files clearly (module_topic_scene01.wav).
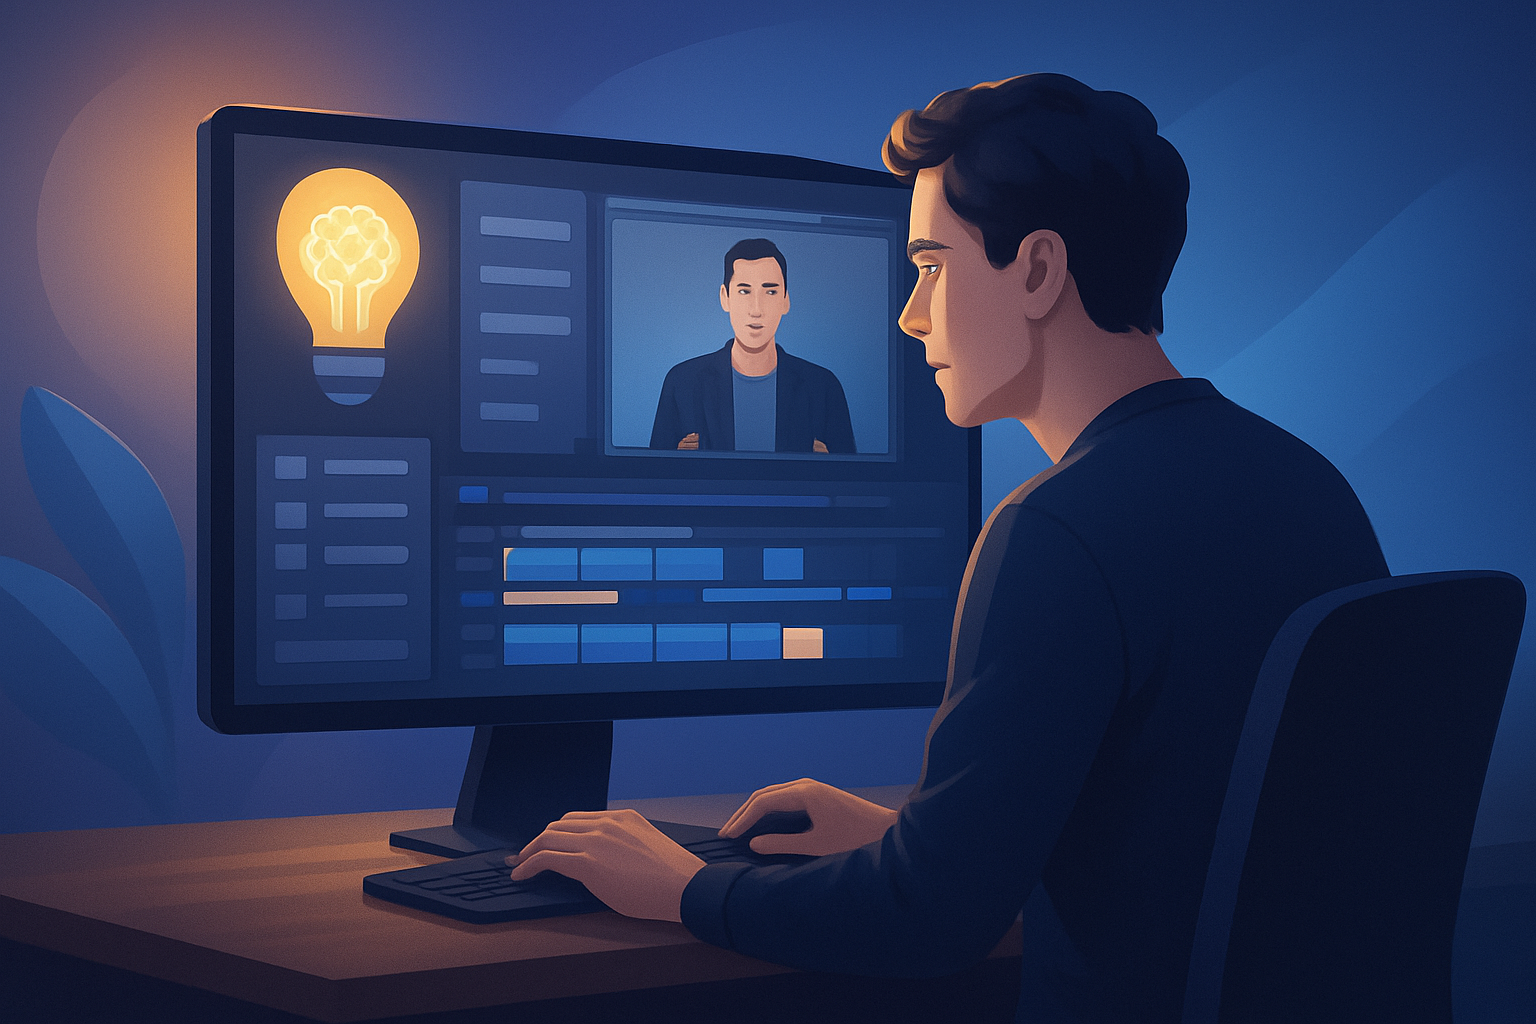
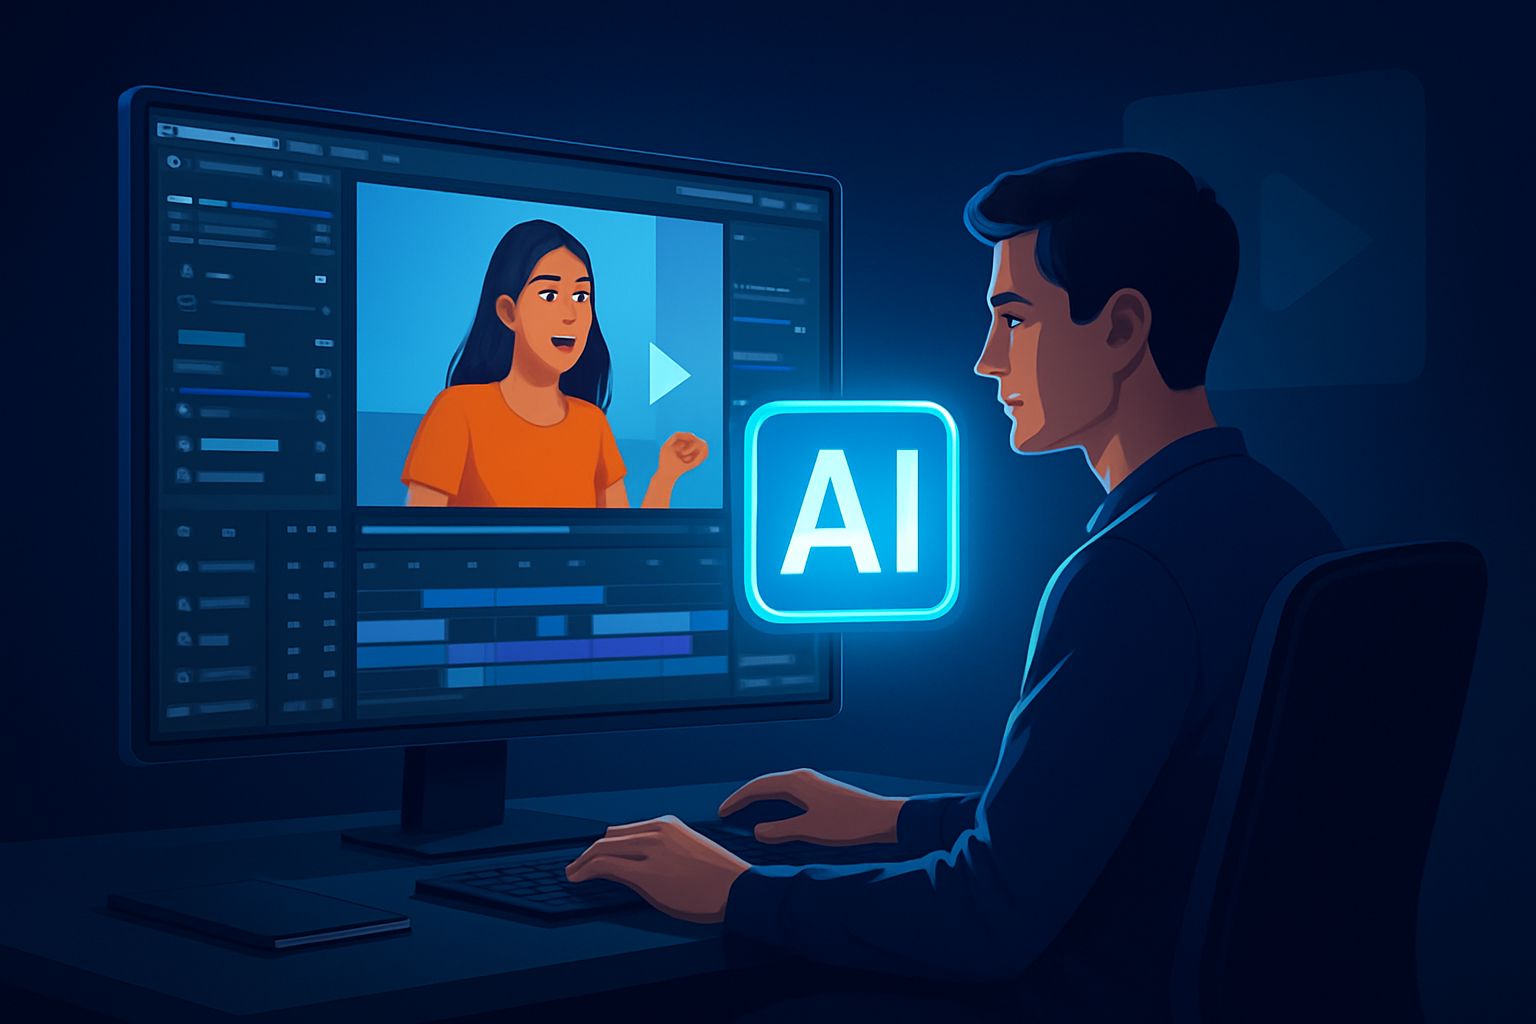
Build the Text-to-Video first draft
- Import script, audio, and style references into your editor.
- Map script scenes to generated visuals and imported assets.
- Add rough subtitles and title hooks.
Finish: polish and unify
- Apply subtitle styles, add B-roll or overlays, and set motion (auto-zoom, face tracking, freeze frames) where helpful.
- Adjust small color or contrast fixes and balance audio levels.
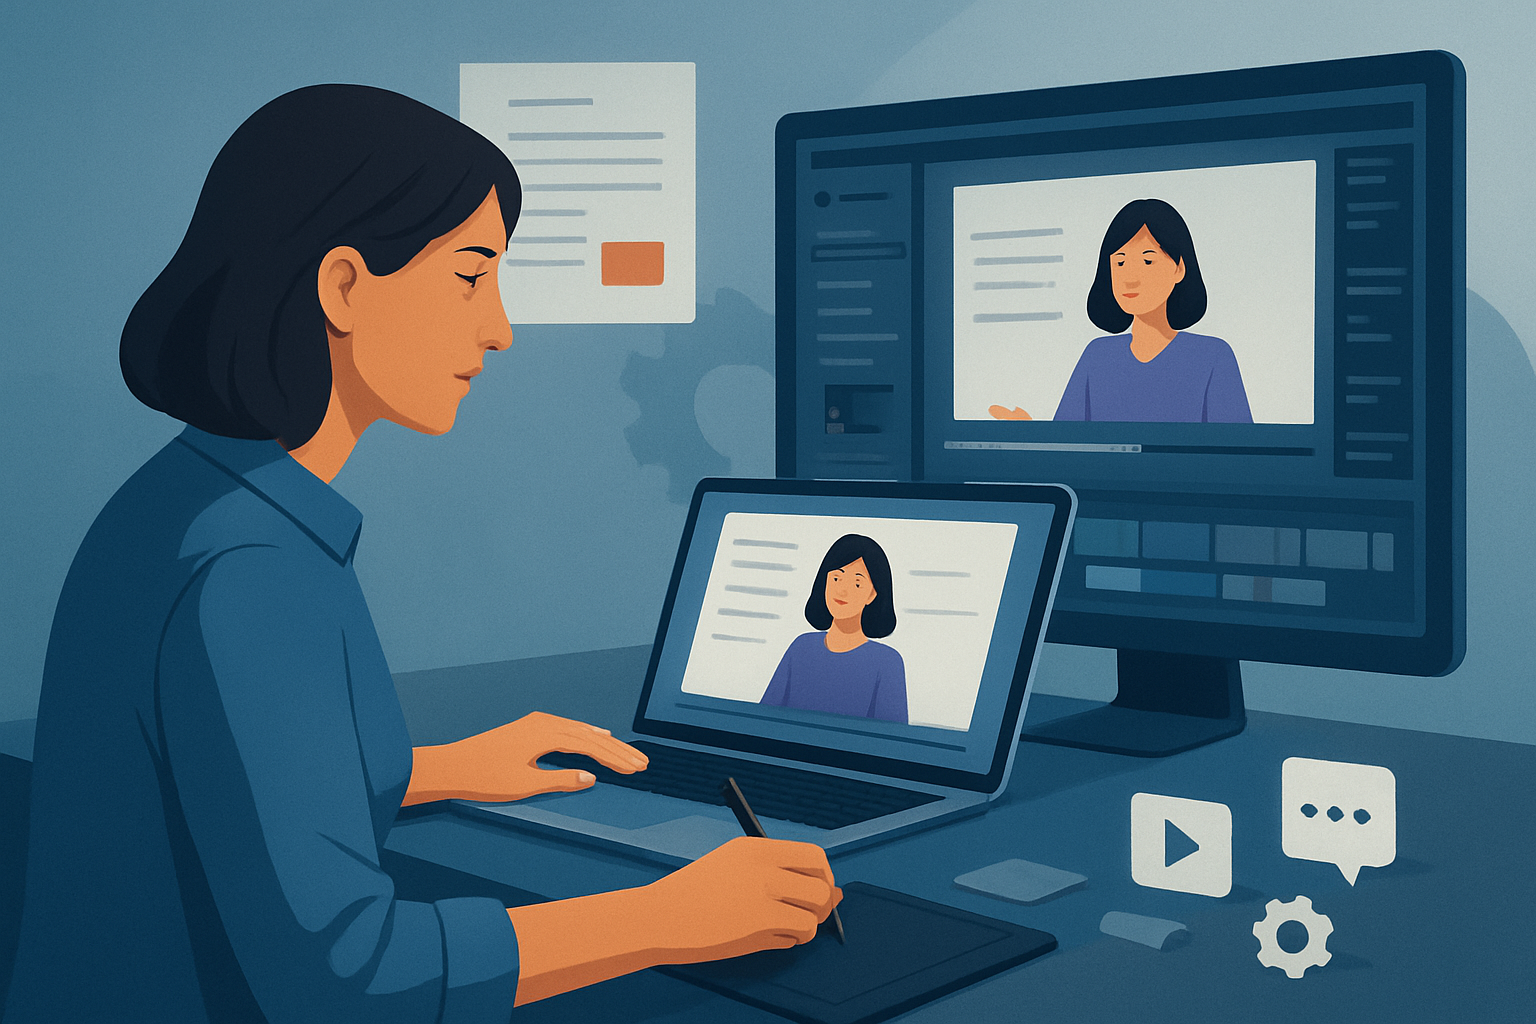
Export and package for platforms
- Preview and export in landscape, portrait, and square formats as needed.
- Generate thumbnails and export caption files alongside the video.
Reuse and iterate
- Save the project as a template. Reuse the asset library and style references for the next lesson.
Tools needed
- Script editor (Google Docs, Word) for collaborative drafting.
- Microphone and basic recorder (USB condenser or lavalier).
- Slide/image source (PowerPoint, Canva exports).
- Video editor with text-to-video and finishing controls — for this workflow one desktop option is Shorz (Windows). Shorz supports script-based generation, voice selection and narration preview, imported assets, style reference images, subtitles, B-roll, title hooks, and thumbnail generation inside a single, persistent workspace.
- Subtitle/caption uploader (if your LMS or platform needs a specific format).
- Short-form repurposing helpers (for trimming and aspect conversions) — Shorz previews and exports landscape, portrait, and square.
If you want deeper creator or advertiser-focused versions of this workflow, see Text to Video for Creator Workflow and Text to Video for Advertiser Workflow.
Mistakes to avoid
- Skipping the script stage: attempting to “wing it” makes edit times explode. Scripts enable easy scene-splitting and reuse.
- Treating generation as final: AI-first drafts speed you up, but finishing controls are essential for clean, accurate education content.
- Inconsistent visual references: changing style every lesson will confuse learners and double rework. Lock a palette and layout.
- Not naming assets clearly: disorganized libraries slow batch work and reduce reusability.
- Exporting only one ratio: single-format exports mean re-editing later for Reels/Shorts.
Optimization tips for educators
- Chunk content intentionally: design micro-lessons that can be recombined into longer modules.
- Use style reference images for consistency: they stabilize AI-generated scenes and keep branding uniform across videos and clips.
- Build a subtitle style guide: font, size, color, and safe margins—apply it as a default in your editor.
- Keep a master asset library: store diagrams, title hooks, and overlays so you don’t recreate them.
- Preview in multiple ratios early: catching framing issues before final render saves time.
- Automate metadata and thumbnail templates: consistent thumbnails increase recognition across course videos and social repurposes.
How to scale the workflow
- Create templates: a lesson template with placeholder scenes, subtitle defaults, and thumbnail layout compresses first-draft time.
- Batch similar tasks: write multiple scripts in one session, record audio in a single sit-down, then generate videos in sequence.
- Reuse and iterate assets: use your local asset library to swap visuals across modules without rebuilding scenes.
- Standardize naming and versioning: include course, lesson, and date in project names to keep project history clean.
- Parallelize roles: one person writes scripts, another records narration, and an editor finishes videos using the same template.
Shorz’s persistent local projects and reusable “My Assets” system support templates and batch operations because everything (videos, images, thumbnails, audio) is stored locally and ready to reuse.
Where Shorz reduces friction
- Workflow compression inside one workspace: Shorz combines text-to-video generation, asset import, subtitle and thumbnail generation, and finishing controls so you don’t jump between multiple apps.
- Faster first drafts that are also editable: AI generation moves you from script to rough cut quickly, but finishing tools let you refine rather than start over.
- Reusable asset library: store diagrams, overlays, and thumbnails locally for repeatable output and consistent course branding.
- Multi-ratio previews and exports: build once and export for YouTube, TikTok, and LMS needs without re-cutting.
- Packaging beyond the video: built-in thumbnail generation and creator-style overlays reduce the separate work of “packaging” course media.
These capabilities make the workflow predictable and repeatable—key for course schedules and weekly content production.
FAQ
Q: Can I use existing slides and images in the text-to-video flow? A: Yes. Import slides, images, and short clips into your asset library and map them to scenes during generation.
Q: Is this workflow suitable for faceless lessons (no on-camera instructor)? A: Absolutely. The system supports faceless explainers, narrated slide-driven lessons, and avatar-based content when you want a consistent visual approach.
Q: How do I keep captions accurate? A: Use your narration audio as the timing source and generate or edit subtitles inside the editor. Keep a subtitle style guide so visual presentation is consistent across exports.
Q: Will I need cloud storage for team projects? A: Shorz stores projects and assets locally, which supports reusable libraries and persistent history. For team-specific cloud workflows, pair local work with your organization’s file-sharing process.
For a full guide that connects script drafts to finished videos, read the complete script-to-video overview here: Script to Video: Complete Guide.
CTA
Ready to compress your lesson production cycle and build repeatable educational videos? Explore a script-to-video workflow and practical templates to get faster drafts and consistent outputs: Script to Video: Complete Guide.