The bottleneck repurposers hit (and why text-to-video fixes it)
Repurposers live or die by throughput and consistency. You can mine hours of long-form content, but the hard part is converting that inventory into dozens of platform-ready clips without reinventing the same steps every time: writing short scripts, matching visuals, adding subtitles and hooks, resizing for Reels/Shorts/feeds, and creating thumbnails. The usual result is slow, scattered work across multiple tools, missed brand consistency, and lots of manual finishing.
Text-to-video for repurposing workflow solves that bottleneck by turning repeatable script snippets into publish-ready scenes quickly, keeping style consistent, and reducing tool switching so you get faster first drafts and repeatable outputs.
Step-by-step workflow: text-to-video for repurposing
Audit your content inventory
- Tag long-form files by theme, top clips, and evergreen moments.
- Export timestamps of strong moments or write 15–60 second script snippets derived from key quotes.
Define format and distribution intent
- Pick target platforms (shorts, feed, long-form preview).
- Decide lengths and aspect ratios you need (portrait, square, landscape).
Prepare the script snippets
- Convert selected timestamps into tight scripts or hooks (one idea per 15–60s).
- For repurposing, prioritize statements that tease the longer piece and invite clicks.
Assemble visual references and reusable assets
- Gather brand overlays, logo files, b-roll GIFs, and style reference images to stabilize the visual identity across generated scenes.
- If you’ll mix generated scenes with real footage, collect those clips now.
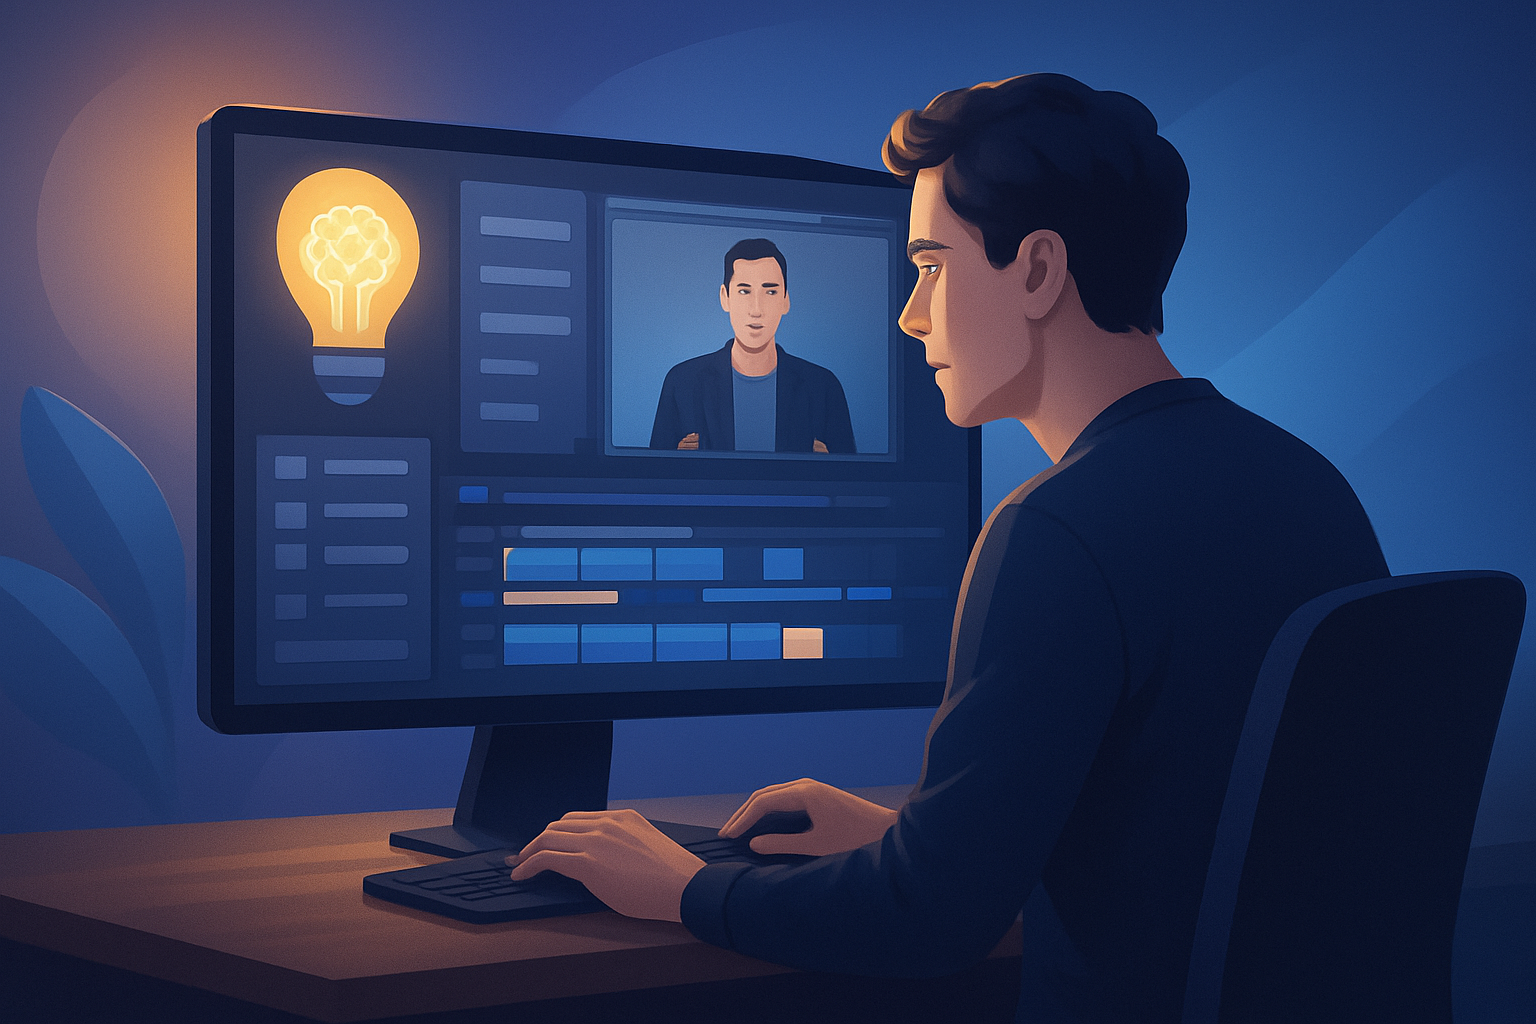
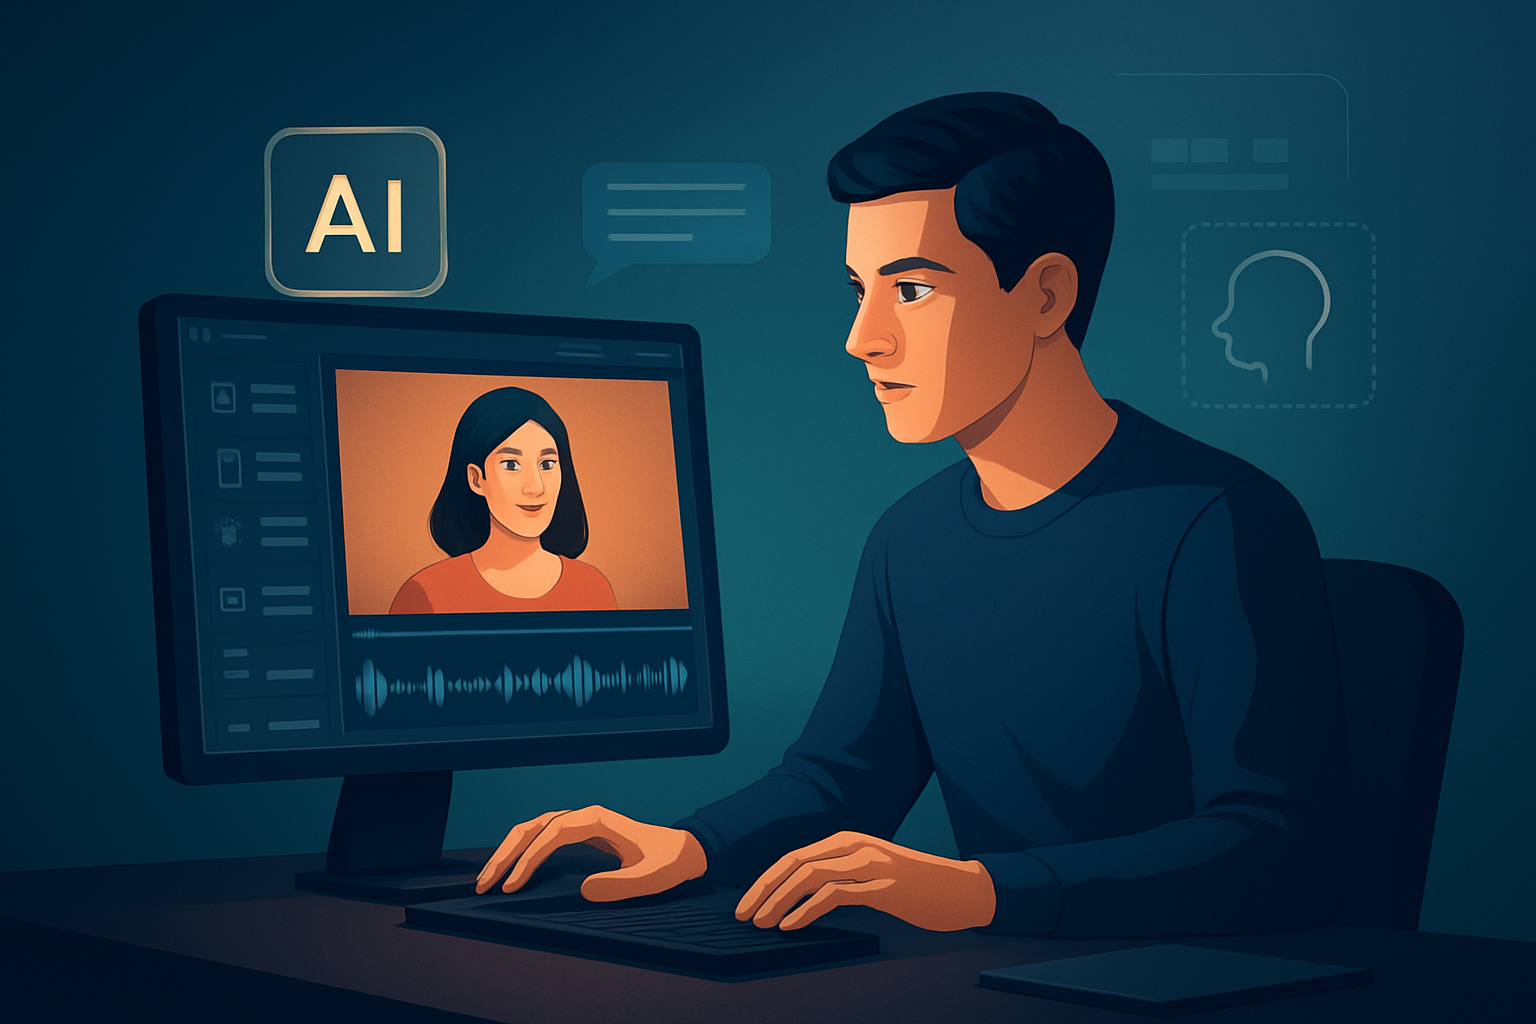
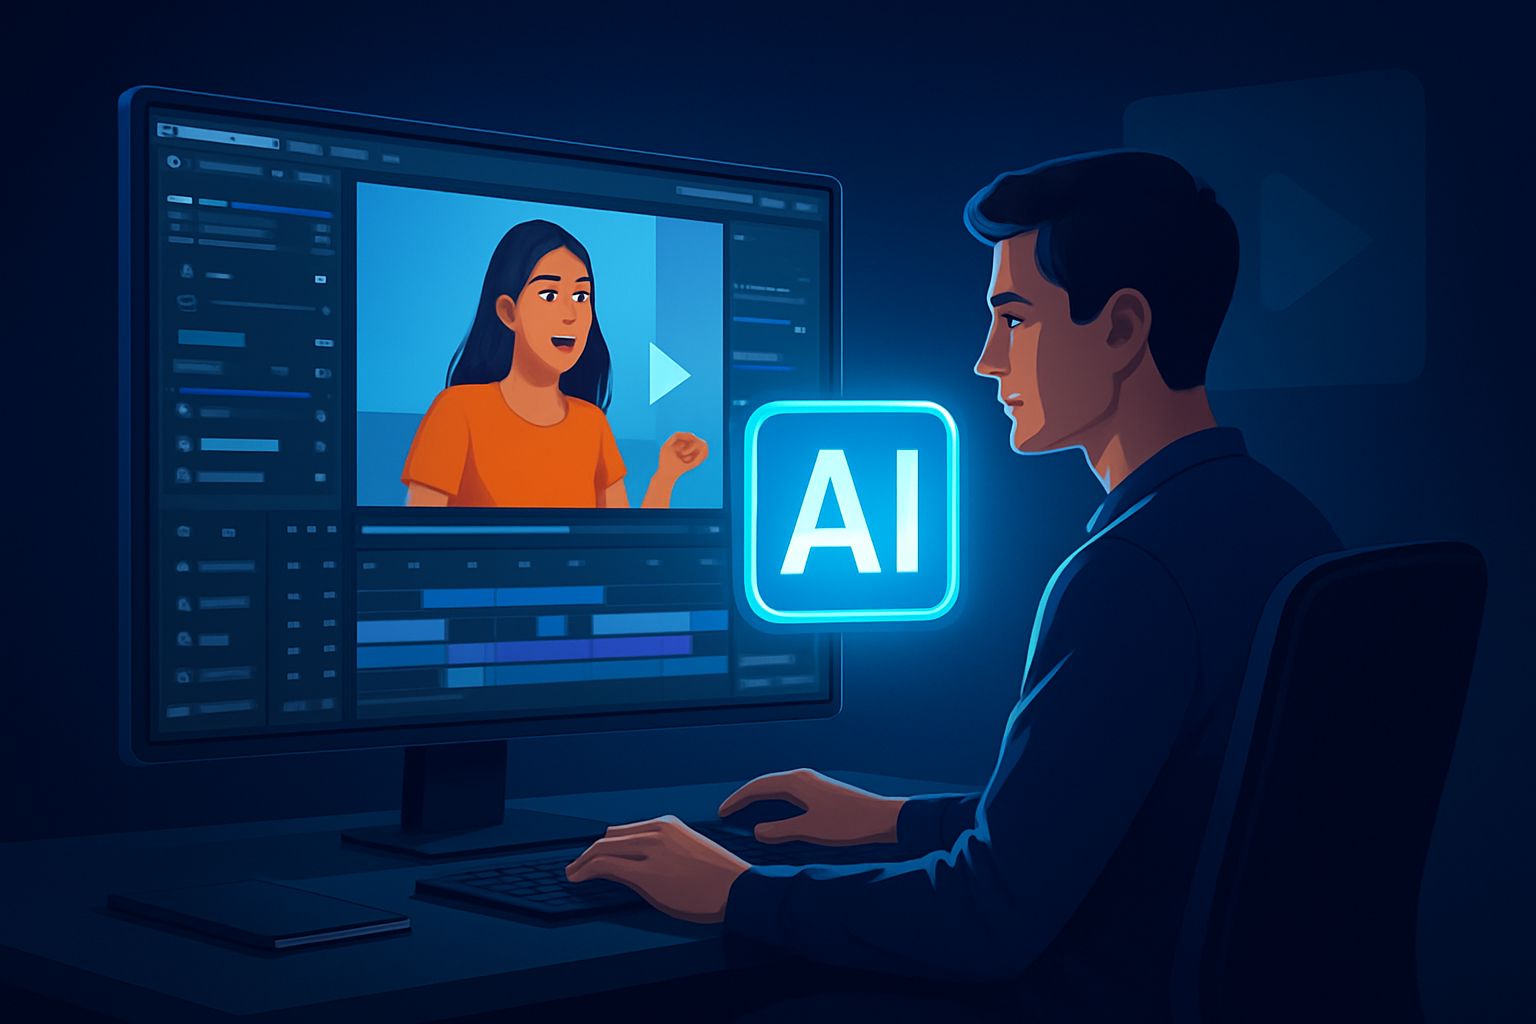
Generate scenes from text
- Use text-to-video to convert each script into a scene. Include style reference images and choose a voice or upload narration.
- Preview narration, tweak timing, and adjust transitions and motion options.
Layer finishing elements
- Add subtitles, title hooks, overlays, borders, and B-roll. Keep a template for subtitle look and hook placement to speed up editing.
- Apply visual polish like auto-zoom, face tracking, freeze frames, or grayscale moments where relevant.
Produce thumbnails and preview
- Generate thumbnails alongside the video so each clip is publish-ready.
- Preview outputs in portrait, square, and landscape to make platform-specific edits.
Export and schedule
- Export the format(s) you need. Keep local copies and save generated assets back into your reusable library so the same themes and hooks can be reused.
(If you’re doing footage-first repurposing instead, follow an Auto Edit Video pattern: import footage, transcribe/analyze, generate edit sequence, then add the same finishing layers above.)
Tools needed
- A desktop AI video workstation that combines text-to-video and footage-first workflows — ideal for this workflow is a single app that supports scripts, narration preview, subtitles, thumbnails, and multi-ratio previews.
- Shorz (Windows desktop) fits this pattern: it supports Text-to-Video, Auto Edit Video, Avatar, and Podcast project types; stores assets locally; and bundles finishing tools like subtitles, hooks, thumbnails, and multi-ratio preview.
- A short script editor (any text editor or spreadsheet for batching scripts).
- Voice assets: uploaded narration, TTS voices, or studio-recorded clips.
- B-roll library or stock provider for supplementing generated visuals.
- Scheduling/publishing tool (optional) to queue exports to platforms.
For agency-level processes, combine this with an asset style guide and repeatable templates to speed handoffs and approvals. See how the agency pattern maps to text-to-video workflows in Text to Video for Agency Workflow.
Common mistakes to avoid
- Skipping style references. Generated scenes drift visually without consistent reference images.
- Treating AI output as final. Use finishing controls: subtitles, hooks, overlays, and color adjustments matter.
- Re-creating the same subtitles and thumbnails each time. Save templates and thumbnails to your asset library.
- Ignoring aspect-ratio previews. A composition that works in landscape can fail in portrait.
- Overcomplicating the script: short clips need one clear idea and a straightforward hook.
Optimization tips that actually raise output
- Batch scripts by theme, then batch-generate scenes to maintain voice and style.
- Use the same subtitle and title-hook template across a campaign for brand recognition.
- Put your strongest line in the first 2–3 seconds to increase retention.
- Reuse generated thumbnails and hook variants across platforms; small A/B tests tell you what performs.
- Save style reference images per series so generated visuals stay consistent across episodes.
If you want an operational playbook for script-able, repeatable production, check the guide at Script to Video: Complete Guide.
How to scale this workflow
- Create a “series” template with saved overlays, subtitle styles, and motion presets. Apply it to all new text-to-video scenes to compress finishing time.
- Build a local asset library: thumbnails, logos, music beds, B-roll, and pre-approved hooks. Reuse, don’t re-import.
- Batch-run narration previews and approvals for multiple scenes, then apply global edits.
- Automate aspect exports: one render configuration produces portrait/square/landscape variants with minimal rework.
- Operate with the same workspace and persistent projects so new episodes inherit the same styles and assets.
Shorz’s persistent local projects and My Assets library support reusable media and cached outputs, which helps when you scale from a few clips to hundreds.
Where Shorz reduces friction in repurposing
- Single workspace for both text-to-video and footage-first repurposing, so you don’t jump between apps.
- Faster first drafts combined with finishing controls — not just raw generation — so outputs are close to publish-ready.
- Local asset library and persistent projects let you reuse thumbnails, overlays, and motion styles across deliverables.
- Built-in subtitles, title hooks, overlays, and thumbnail generation shrink the post-production checklist.
- Preview and export in portrait, square, and landscape from the same project to avoid re-composing scenes per platform.
- URL-based ingestion and download helpers let you pull source material into the local asset library for repurposing.
For more on turning scripts into videos inside a single workflow, see Script to Video: Complete Guide and the agency-focused workflow notes at Text to Video for Agency Workflow.
FAQ
Q: Can I mix generated scenes with real footage? A: Yes. Use text-to-video to create generated scenes and import footage into the same project. The finishing controls (subtitles, overlays, motion) apply to mixed timelines so the output feels cohesive.
Q: How do I keep visual consistency across many clips? A: Save and reuse style reference images, subtitle templates, and title-hook overlays in your asset library. That stabilizes AI-generated visuals and keeps brand identity intact.
Q: Does this workflow support captions and thumbnails? A: Yes. Include subtitle templates and thumbnail generation as part of the export flow so clips are publish-ready for social platforms.
Q: Can I preview multiple aspect ratios before exporting? A: Previewing in landscape, portrait, and square is part of the finishing stage—preview, adjust, and export without rebuilding the project.
Q: Is this suitable for educational faceless channels? A: Absolutely. Text-to-video plus avatar and narration options make it straightforward to create faceless explainers and course clips with repeatable styles.
Next step (CTA)
Want a practical, repeatable script-to-video playbook you can run today? Walk through the complete process and templates at Script to Video: Complete Guide and apply a text-to-video repurposing workflow that delivers faster first drafts, fewer tools, and repeatable outputs.