The core bottleneck course creators hit on YouTube Shorts
Course creators have too much teaching and too little time. You know which 30–90 second moments from a lecture could convert new students, but turning long-form modules into consistent, on-brand Shorts is slow: you stitch clips across apps, remake thumbnails, rewrite hooks, and lose visual consistency. The result is low throughput and unpredictable results.
You need a compact, repeatable system that converts lesson nuggets into publish-ready Shorts quickly—without sacrificing brand, captions, or thumbnails.
Step-by-step YouTube Shorts workflow for course creators
- Identify the nugget
- Pick a single, standalone idea (one tip, one misconception, one “aha” moment). Aim for 15–45 seconds.
- Write the hook + CTA
- Script a 1–2 sentence hook that appears in the first 2–3 seconds and a single-line CTA (e.g., “Full lesson link in description”).
- Prepare source material
- Locate the long-form lesson, recording, or slide deck. Decide whether you’ll repurpose existing footage or create a faceless Text‑to‑Video snippet.
- Create a short script / edit plan
- Break the nugget into: Hook → Key point(s) → Micro CTA. Note timestamps for cut points in the original recording.
- Import into your editor / workspace
- Load footage, audio, slides, and images into a single project workspace so assets are reusable across episodes.
- Auto-assemble a first draft
- Use an editor that supports auto-editing or Text‑to‑Video to generate a fast first draft you can refine.
- Add finishing layers
- Apply subtitles, title hooks, overlays, B-roll, and a consistent visual style (borders, color tweaks, auto-zoom, face tracking).
- Generate thumbnail & export formats
- Create a thumbnail that scales to small screens and export portrait (shorts), square (IG), and landscape (repurposing) versions.
- Upload & optimize metadata
- Finalize title, description with timestamps and link to course, and pinned comment CTA.
- Track performance and iterate
- Save this project as a template and note which hooks and visual patterns drive click-throughs.
Tools you’ll need
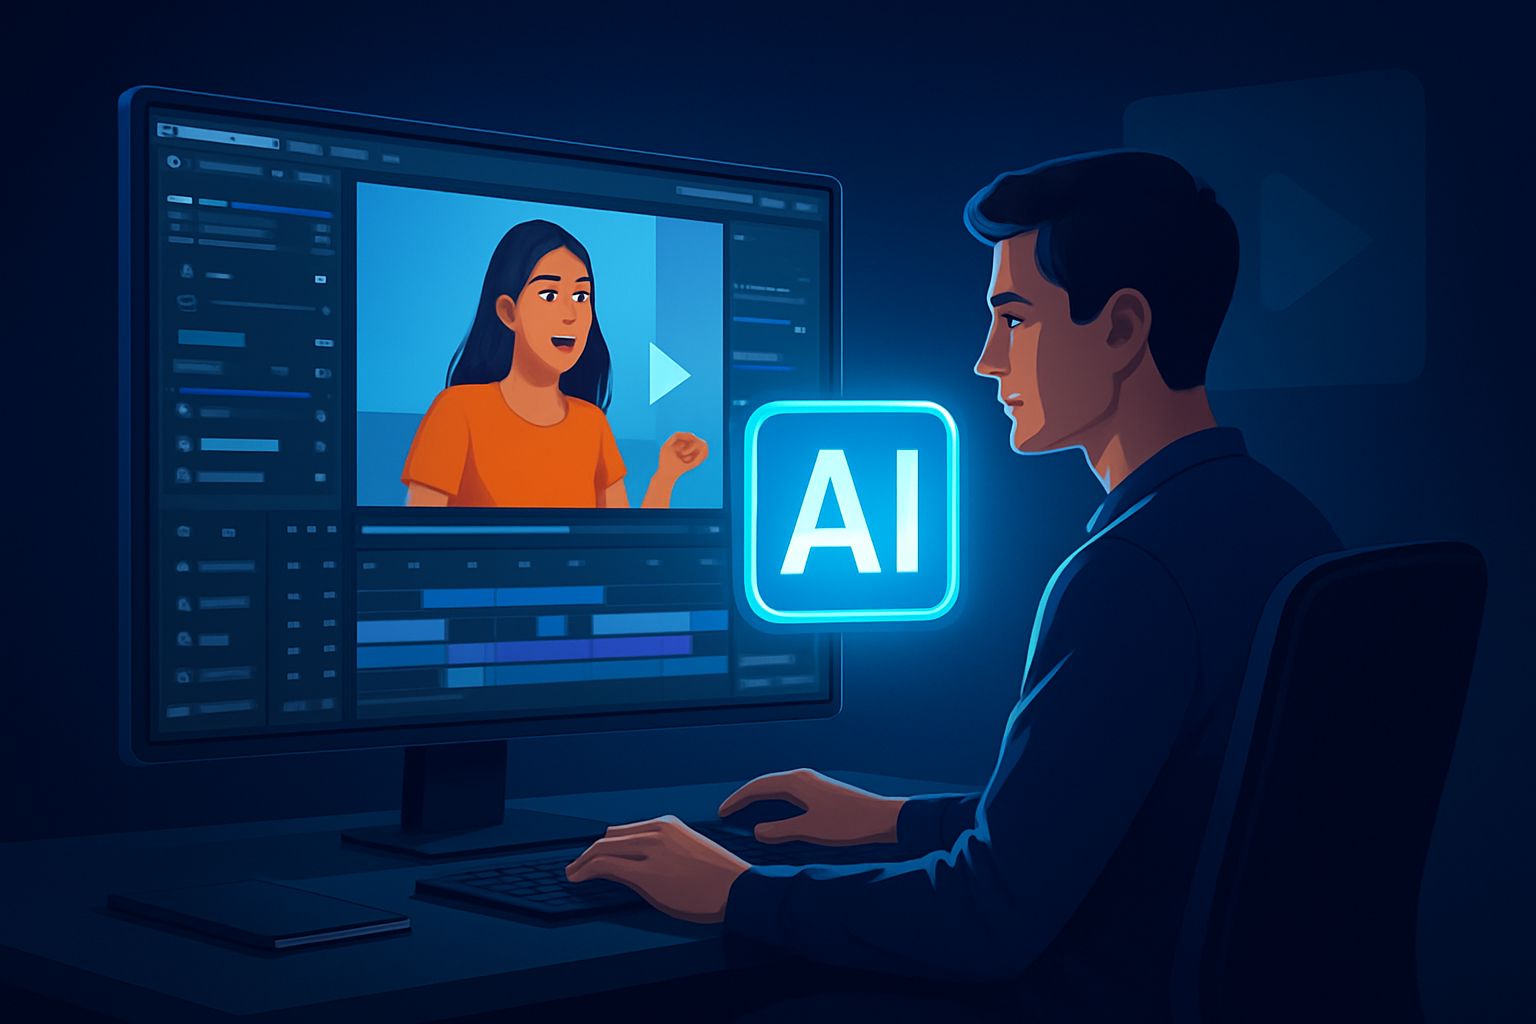
- A workstation editor that consolidates steps and stores assets locally. (Shorz is a Windows desktop AI video production suite built for this kind of workflow.)
- Script editor or notes tool for quick hooks and CTAs.
- Microphone or clean audio source if you re-record narration.
- Screen-capture or recording tool for slides/demos when needed.
- Stock music or SFX library for quick finishing touches.
- A simple spreadsheet or project board for batching topics and tracking performance.
If you want workflow examples for other verticals, see YouTube Shorts Workflow for SaaS Brands and YouTube Shorts Workflow for Ecom Brands.
How Shorz fits into this workflow
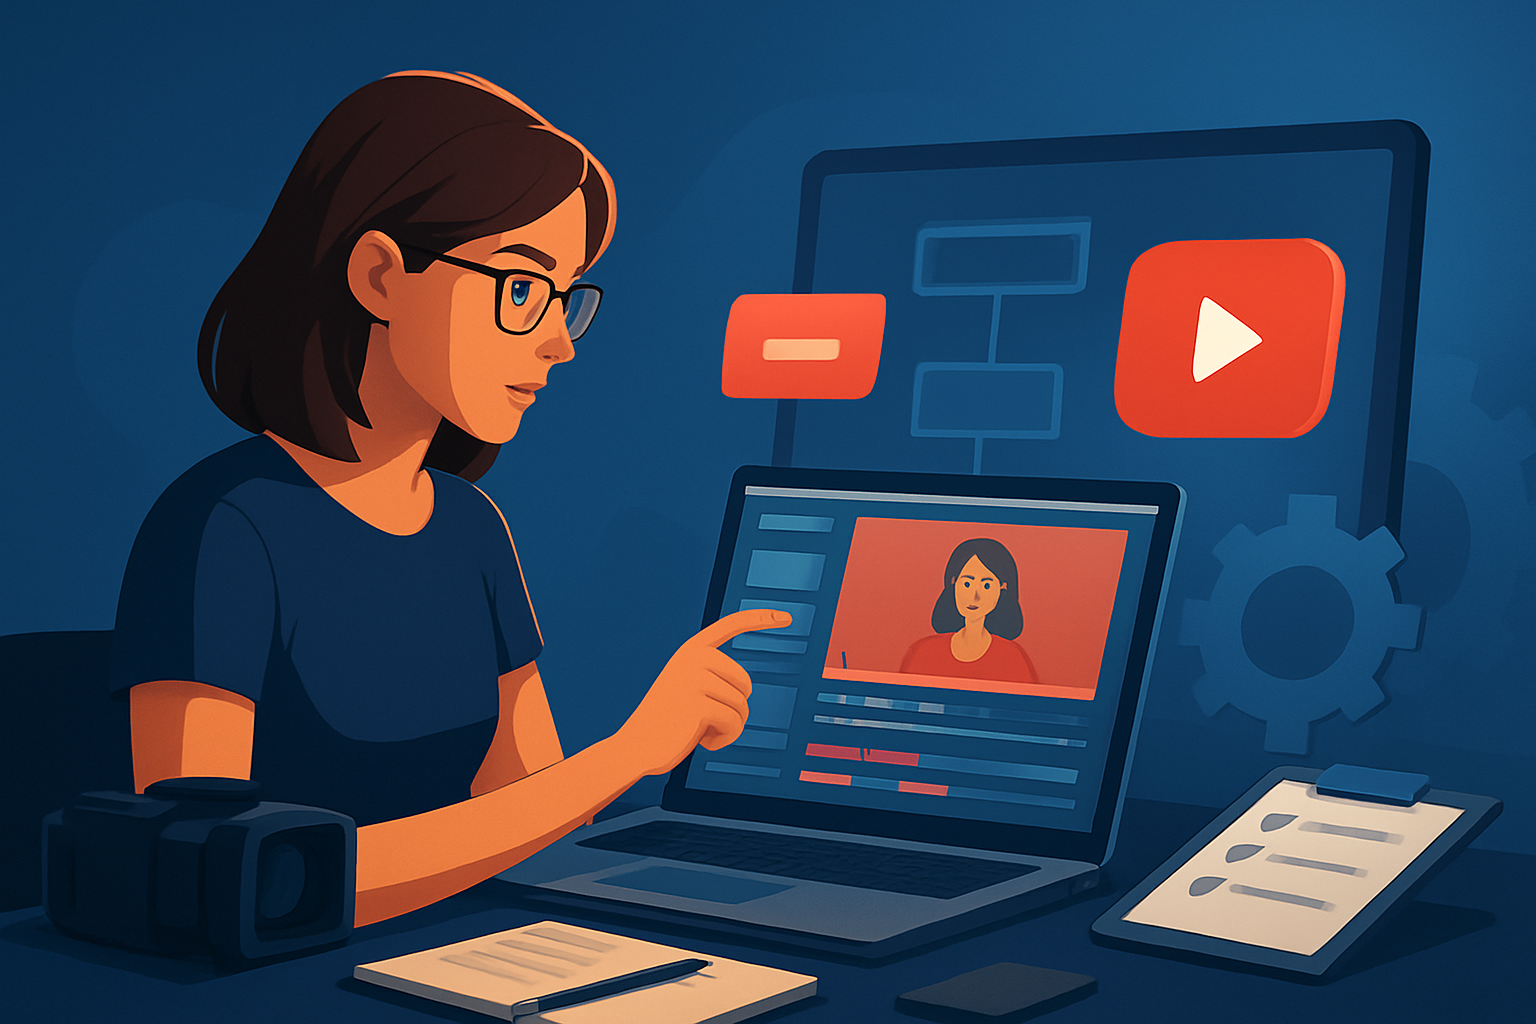
- Use Auto Edit Video to turn imported lecture clips into a concise first draft with less tool switching.
- Use Text‑to‑Video when you want faceless explainer Shorts or when you’re generating scenes from a typed script and style references.
- Store and reuse brand assets in My Assets: logos, title hooks, B-roll, and thumbnails live with the project for repeatable output.
- Apply finishing layers—subtitles, overlays, borders, GIFs, and sound mix—inside the same workspace so you don’t bounce between apps.
- Preview in portrait, square, and landscape to make one project publish-ready across platforms.
- Generate and store thumbnails alongside video outputs for faster publishing.
For a deeper look at the product category, see What Is an AI Video Editor?.
Common mistakes to avoid
- Trying to cram a full lesson into a Short. Focus on one clear takeaway.
- Skipping the first-2-seconds hook. If the hook fails, retention tanks.
- Editing in multiple tools every time. Tool sprawl kills throughput and consistency.
- Ignoring subtitles or poor subtitle timing—most Shorts are watched without sound.
- Recreating the same overlays and thumbnails every time instead of using templates and an asset library.
Optimization tips that actually move the needle
- Hook-first: craft a curiosity or outcome-driven hook for seconds 0–2.
- Short-form pacing: prefer quick cuts, short captions, and visual contrast every 2–4 seconds.
- Subtitle design: keep each subtitle line readable on small screens and time it to the speaker.
- Thumbnail test: generate 2–3 thumbnails and A/B over the first 24–72 hours.
- Repurpose presets: export portrait for Shorts, then square or landscape for other channels from the same project.
- Use style reference images for consistency when creating Text‑to‑Video scenes—this stabilizes the visual identity across multiple outputs.
How to scale this workflow
- Batch topics: write hooks for 10–20 nuggets at once, then batch-record or batch-edit.
- Create templates: store title hooks, subtitle styles, and overlay presets in your asset library for instant reuse.
- Reuse generated assets: thumbnails, GIFs, and B-roll saved in the project reduce setup time for the next Short.
- Delegate repeatable steps: send scripts and style references to an editor or VA; use a single project pattern so they can drop content in and finish quickly.
- Track performance: keep a simple register of which hooks convert to course signups and reuse those narrative patterns.
Shorz’s persistent local projects and My Assets system make template-based scaling practical—faster first drafts, repeatable output, and less tool switching.
Where Shorz reduces friction, step-by-step
- Sourcing footage: URL-based ingestion and local asset library speeds importing.
- First drafts: Auto Edit Video and Text‑to‑Video compress time-to-draft so you can get to finishing fast.
- Finishing + polish: subtitles, overlays, auto zoom, face tracking, freeze frames, and basic color controls live in one workspace.
- Cross-format previews: built-in portrait / square / landscape previews remove manual rework for each platform.
- Asset reuse: My Assets stores thumbnails, images, audio, and generated videos so you don’t rebuild the same elements.
- Publish-adjacent tasks: thumbnail generation and YouTube/TikTok helpers keep outputs publish-ready instead of raw.
This is workflow compression—less context switching, faster revisions, and consistent outputs.
FAQ
Q: Can I make faceless Shorts for course snippets? A: Yes. Use Text‑to‑Video with narration uploads and style reference images to build faceless explainer scenes and keep a consistent look across episodes.
Q: Do I need cloud storage to scale? A: Not necessarily. Shorz stores projects and assets locally to support reusable libraries and persistent project history. Local storage is enough for repeatable single‑creator or small‑team ops.
Q: What length should Shorts be for course promos? A: Aim for 15–45 seconds. Keep the hook in the first 2–3 seconds and a single, clear CTA at the end.
Q: How do I keep visual consistency across dozens of Shorts? A: Use template overlays, saved subtitle styles, and style reference images. Store them in your asset library so each new Short starts from the same visual rules.
Q: Will this work for long-form repurposing? A: Yes. Export portrait for Shorts, then re-export square/landscape from the same project—keeping all assets and edits intact.
Next step / CTA
If you want to compress your Shorts workflow into a single, repeatable workspace and move from lesson to publish-ready Short faster, explore how an AI video editor can fit into your pipeline: What Is an AI Video Editor?.