For history creators on YouTube who want to publish more faceless videos — practical, no-fluff workflow
You’re a history creator on YouTube: you care about accuracy, contextual storytelling, and building a reliable upload cadence — but you don’t want to appear on-camera. This page gives a repeatable, week-one workflow for faceless history content that addresses the specific research, sourcing, and editing bottlenecks of the niche and platform.
Why this workflow matters now
- Demand for short, authoritative history explainers and hook-led Shorts is rising. YouTube rewards consistent cadence and multiple aspect ratios.
- History channels struggle with scarce footage, licensing headaches, and time-consuming assembly (script → narration → visuals → subtitles → thumbnail).
- A workflow that produces repeatable, accurate, publish-ready videos in one environment shortens time-to-publish and scales faceless output without sacrificing quality.
Common pain points for faceless history creators
- Finding or generating relevant visuals when archival footage is limited.
- Turning dense research into tight, SEO-friendly scripts and hooks.
- Managing subtitles, aspect-ratio versions (landscape + Shorts), and thumbnails across uploads.
- Juggling multiple tools for narration, B-roll, captions, and export — which kills momentum.
What to do this week: a 4-day practical workflow you can implement now Day 1 — Research & script (90–120 minutes)
- Choose a narrow, searchable history topic (e.g., “Why the 1848 Revolutions failed in X”).
- Draft a 60–120 second core script and 15–30 second hook for Shorts. Keep timestamps for facts and sources.
- Save your draft and style references (moodboard images, reference thumbnails) into a local project folder.
Day 2 — Assemble assets and style identity (60–90 minutes)
- Gather public-domain images, licensed archival clips, and a few neutral background videos. Import them into your local asset library so they’re reusable.
- Pick 2–3 style reference images that define color grading and visual identity for this series (important for consistent Text-to-Video output).
Day 3 — Build the video in one workspace (90–150 minutes)
- Use a text-to-video workflow to feed the script and style references into a draft. Include narration options or upload recorded voice.
- Add B-roll, overlays, and title hooks directly where facts appear. Use the app’s subtitle generation and preview the video in landscape and portrait to confirm framing.
- Apply visual polish layers (auto zoom, freeze-frame, grayscale moments) to emphasize key facts.
Day 4 — Finish, export, and publish (30–60 minutes)
- Generate a thumbnail inside the project and reuse title hooks for the YouTube upload. Export landscape for full video and portrait for Shorts.
- Export subtitle files, captions, and the thumbnail asset. Schedule uploads and batch-add video descriptions with sources and timestamps.
Why this will scale faceless history output
- Reusable asset libraries and stored projects mean your next episode starts from the same brand identity and visual pool.
- Template-driven subtitles, hooks, and thumbnail generation compress finishing time and reduce tool switching.
- Quick preview across landscape/square/portrait formats lets you repurpose the same episode for main YouTube and Shorts.
Best tool criteria for faceless history creators (what to look for)
- Local project storage and reusable asset libraries for archival materials and citations.
- Script-to-video and Text-to-Video workflows that accept style reference images to keep visual identity consistent.
- Built-in narration options and support for uploaded speech audio.
- Finished edit controls (subtitles, title hooks, B-roll, overlays, music, SFX) so drafts become publish-ready without bouncing between apps.
- Multi-aspect preview and export (landscape + portrait + square) so you can serve YouTube and Shorts without extra conversion work.
- Thumbnail generation and export as part of the same project so thumbnails match the video’s hook and visual style. Shorz meets these criteria with a Windows desktop AI video production suite built around script-led, faceless, and educational workflows.
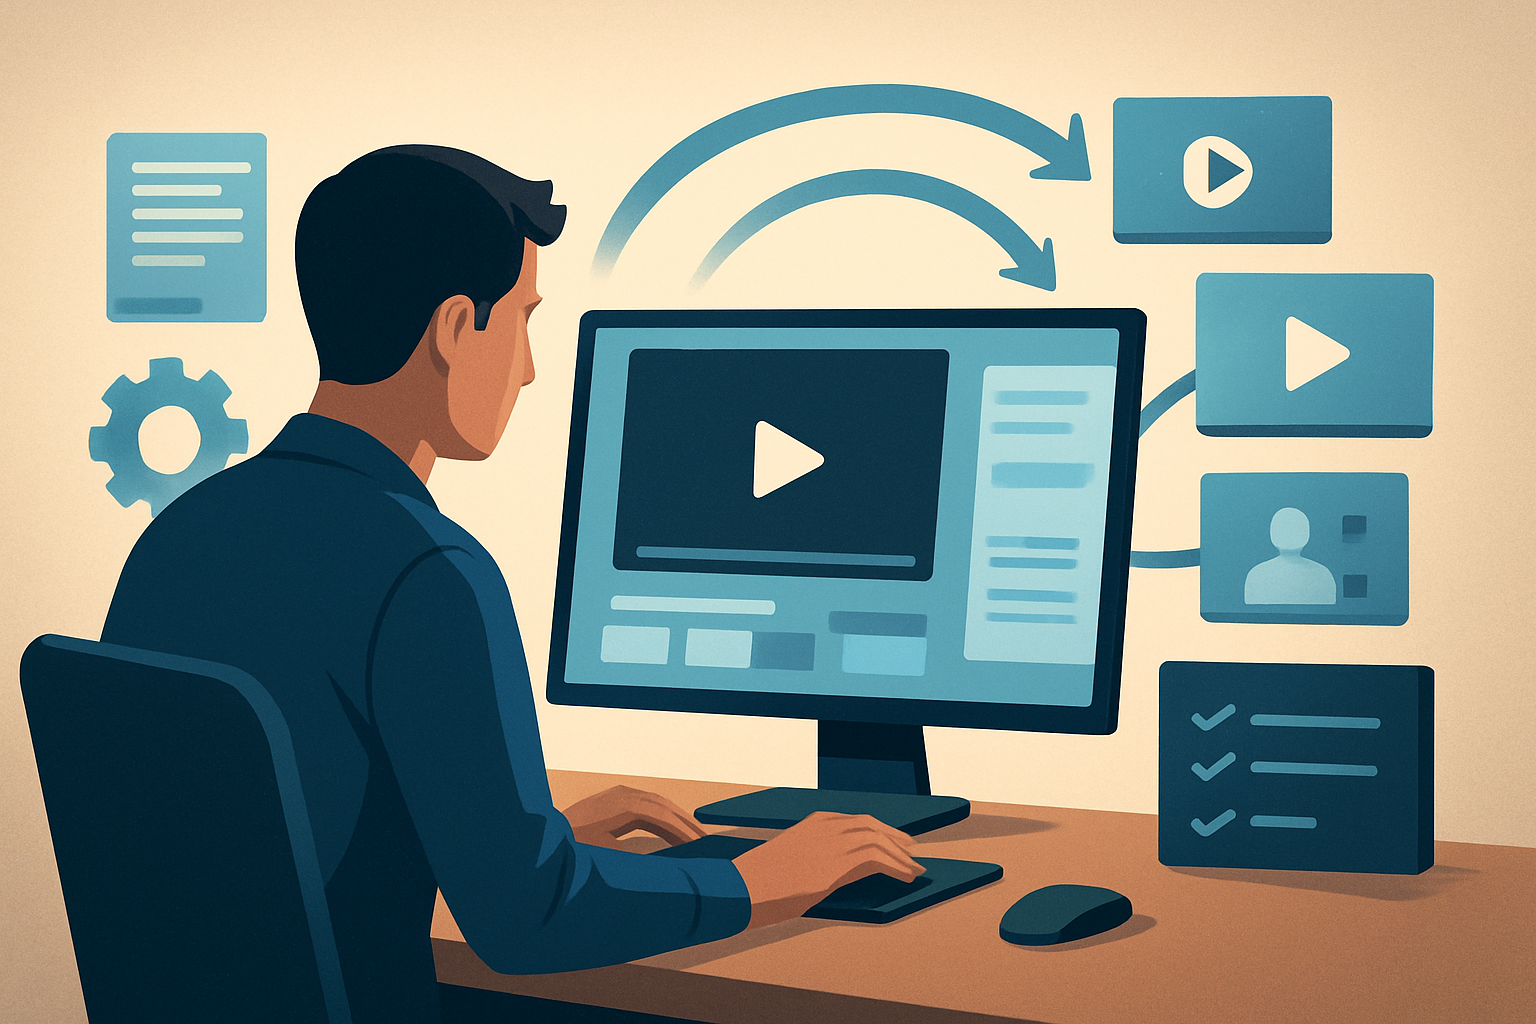
Where Shorz fits in your stack and how it compresses the workflow
- Single workspace: import your footage, archival images, and audio into a persistent local asset library; store project history so recurring series reuse assets quickly.
- Script-to-video: use Text-to-Video for scripted explainers, or Auto Edit Video to start from existing footage; Avatar and Podcast project types help when you want an illustrated presenter or dialogue-driven format.
- Finish inside the app: subtitles, hooks, B-roll placement, visual polish, and thumbnail generation all live together so you go from draft to publish-ready without constant tool switching.
- Export-ready: preview in landscape, portrait, and square; export the video plus thumbnail and caption files for upload. The result is faster first drafts, repeatable outputs, and fewer handoffs.
Practical templates and quick wins
- Create a “Series” project template with your intro hook, color grade, and subtitle style so each new episode is faster to assemble.
- Maintain a library folder for “archival images” and “background motion” so you always have relevant visuals for 90% of topics.
- Use style reference images in Text-to-Video to stabilize the look of generated scenes across episodes.
FAQ — tailored to history creators publishing faceless content on YouTube
Q: Can I use public-domain images and archival footage inside this workflow? A: Yes — you can import any assets into the local library. Licensing and clearance are your responsibility; the app stores and reuses assets, which helps you keep track of licensed content.
Q: How do I keep historical accuracy while using AI visuals? A: Use style reference images, keep generated visuals supplemental to verified archival material, and always cite primary sources in your description and on-screen titles. Treat generated elements as illustrative, not primary evidence.
Q: Can I create both long-form explainers and Shorts from the same project? A: Yes. Preview and export in multiple ratios from the same project, then trim the same timeline or repurpose hooks and subtitles into Shorts.
Q: Do I need to be good at editing to use this workflow? A: No. The workflow is built to compress editing steps: script → draft → finish. AI generation plus finishing controls produce publish-ready videos more quickly than assembling multiple apps.
Q: How do I keep a consistent brand across episodes? A: Store series presets: color grade, fonts, subtitle style, thumbnail templates, and a reusable asset library. Style reference images help keep generated scenes visually consistent.
Q: Will this replace my existing editor? A: It reduces tool switching by combining draft generation and finishing controls in one persistent workspace. Whether you fully replace other tools depends on your preferences, but many creators compress multiple steps into a single workflow here.
Ready to publish more faceless history videos faster? Start building repeatable scripts, asset libraries, and multi-ratio exports in a single Windows desktop workflow. Try the faceless YouTube workflow with Shorz and move from research to publish-ready video in less time.
Faceless YouTube Workflow With Shorz Faceless YouTube Channel Ideas for Beginners Faceless YouTube Channel Ideas for Science